Short Fabric Envelope Tutorial
Because I made it free style, and I took pictures, so why not!?
I adore the Halloween season. And Samhain. I wake up this time of year. I can feel something ancient stirring in me ready to pour magic through my fingers into my creative outlets. So naturally, I pull out the witchy fabric and get to work. This morning, as soon as I opened my eyes, I thought time to sew a spell into existence. This envelope greeted me with the leaves hitting my window outside.
This post is too long for email, so please click through to see the rest. I included a few substack articles that I’ve been enjoying at the bottom. I also thought you might like this spooky season type song, because I listen to it on repeat.
I have a friend from high school that I actually became close enough to to call her a sister in our 30s. (Actually I have two friends that fit this description.) We went our separate ways after school, and didn’t even talk really, until we lived 1000 miles apart. One day, I decided to reach out when she made a Facebook post about books and bam, we became close. Now, every year, we send each other cards for most holidays. She always gets mine to me way quicker than I get hers out. That’s because I’m basically flying by the seat of my pants every single day.
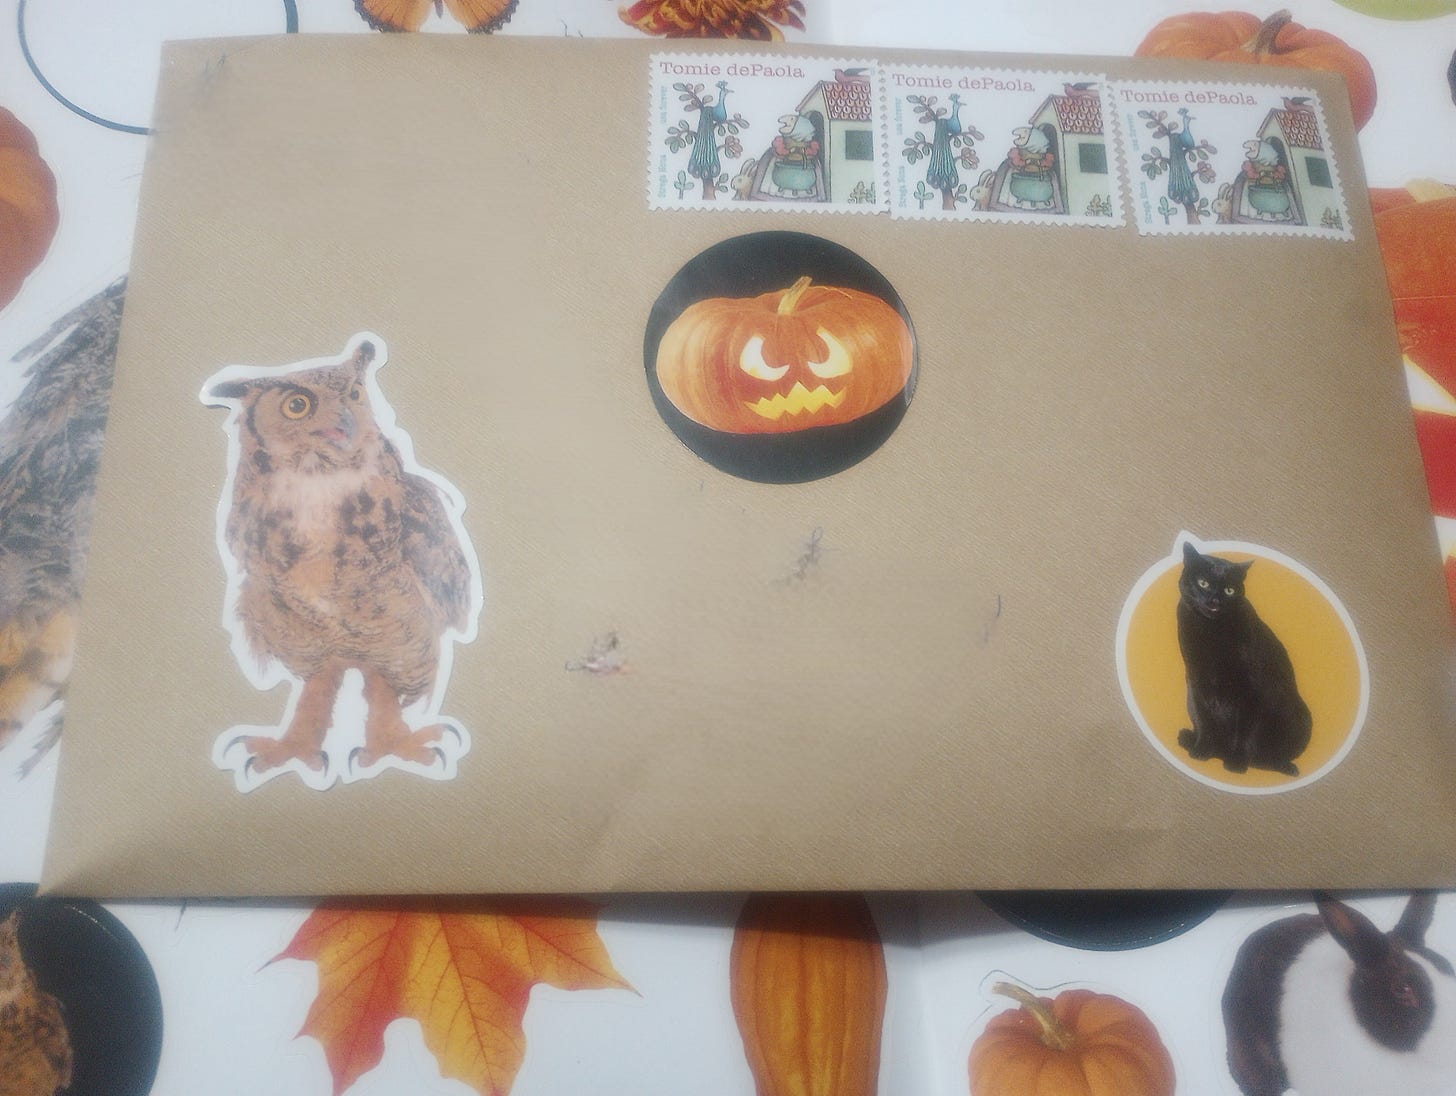
This year, I was nearly early, except I lost her card. Then I bought another one, and lost the new card’s envelope. I decided I’d make my own envelope and write a letter. Then I found the original card with it’s original envelope so now I have an epic card AND envelope to mail out that I think pretty much makes up for the fact that it will be late. Luckily, we often make stuff for each other like this, so she wont find it too shocking when she pulls it from the mailbox.
If you’re going to make yourself one of these envelopes, you’ll need:
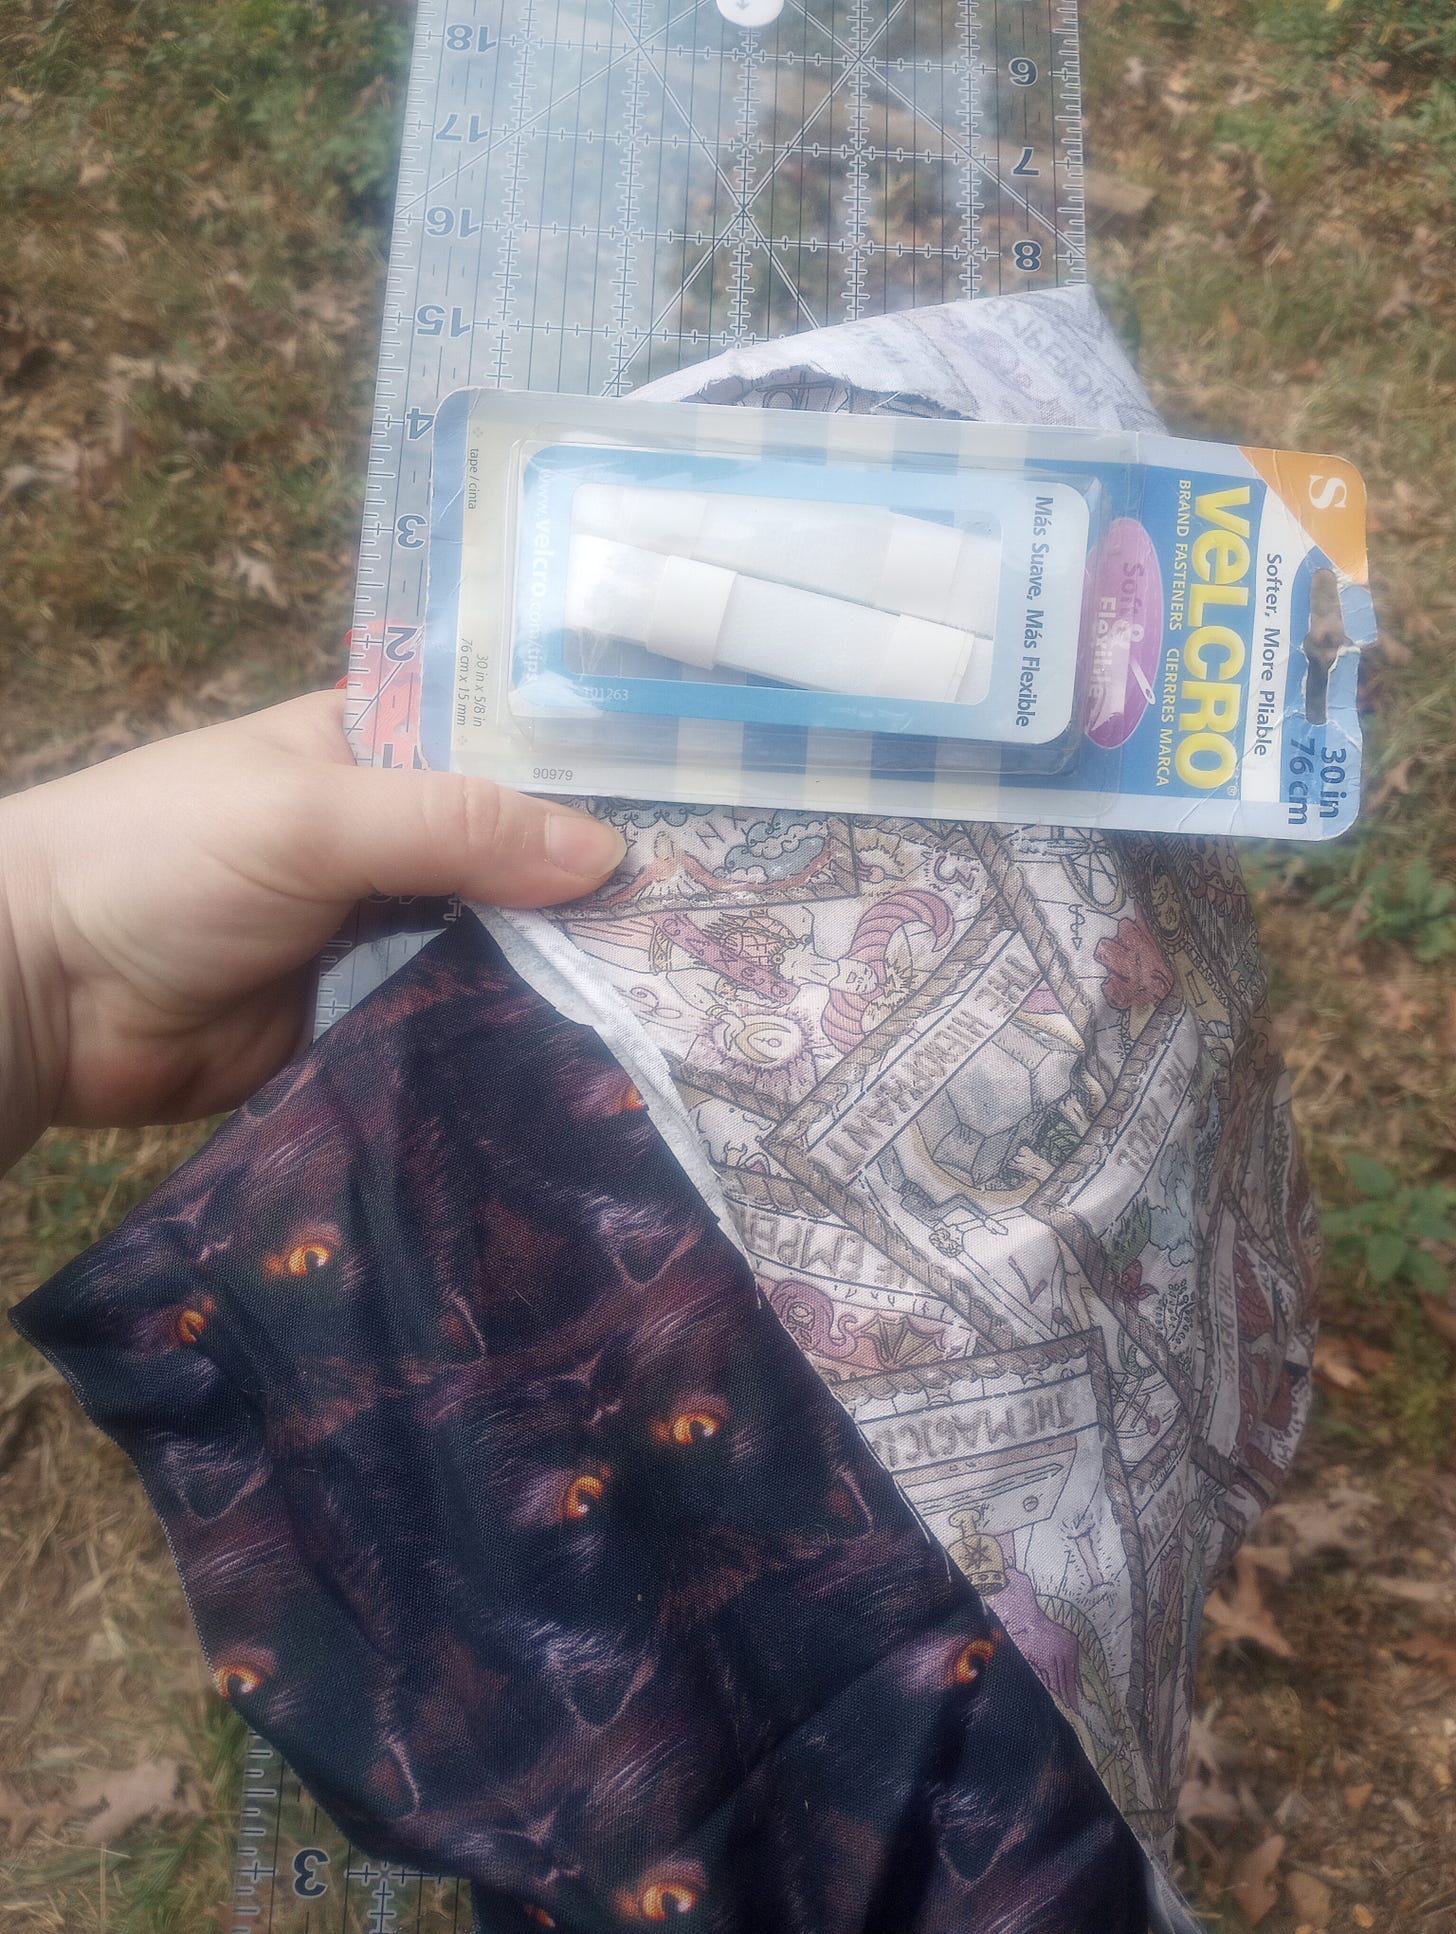
Two coordinating fabrics. I found mine at Joann’s a few years ago.
Cutting implements
Velcro
An iron
Sewing machine (Do people usually list this? I don’t know. I’m basically winging this.)
And a dirty joke waiting to happen
Just kidding, that’s actually optional.
First, cut the two fabrics into 10x10 squares.
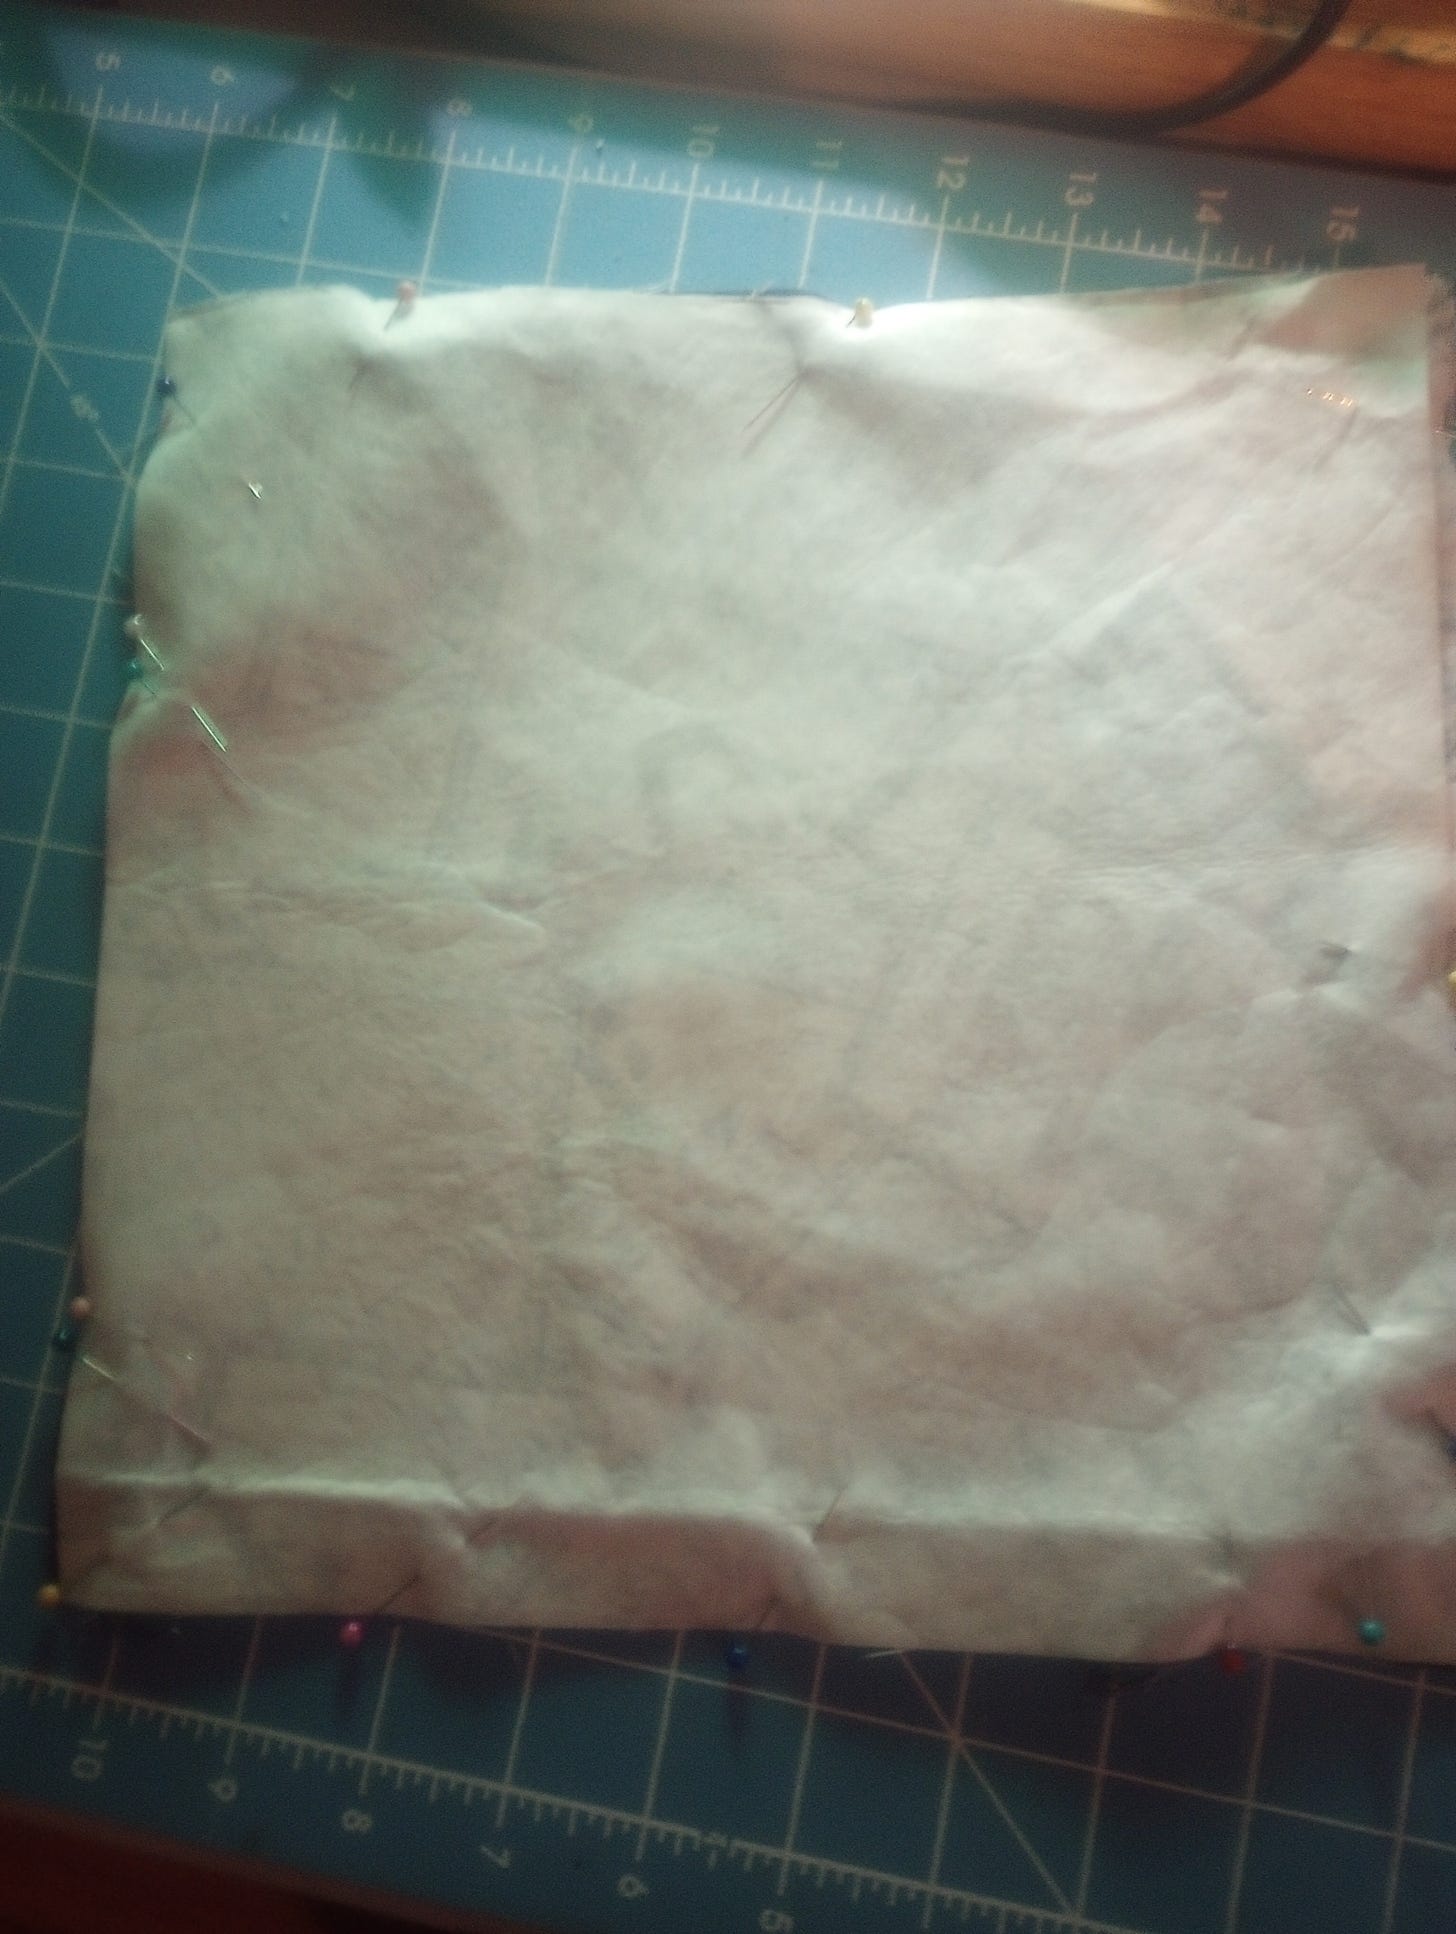
This is seriously the best picture I had of this step. I didn’t know I was going to do a tutorial until the envelope was already done. One of my fabric pieces actually already had interfacing on it from a long ago mistake. Interfacing will make it a bit thicker, but it isn’t necessary. Actually, if you intend on mailing it out, you might get away with just two stamps if you don’t include the interfacing. Pin the two pieces with the fronts of the fabric facing each other. Make sure to leave an opening when sewing so that you can flip it right side out. I like to put two pins really close together on either side of where I want the opening. Cut around the edges to leave about a millimeter of fabric on the inside seam to cut down on bulk.
Flip it right side out, and iron.
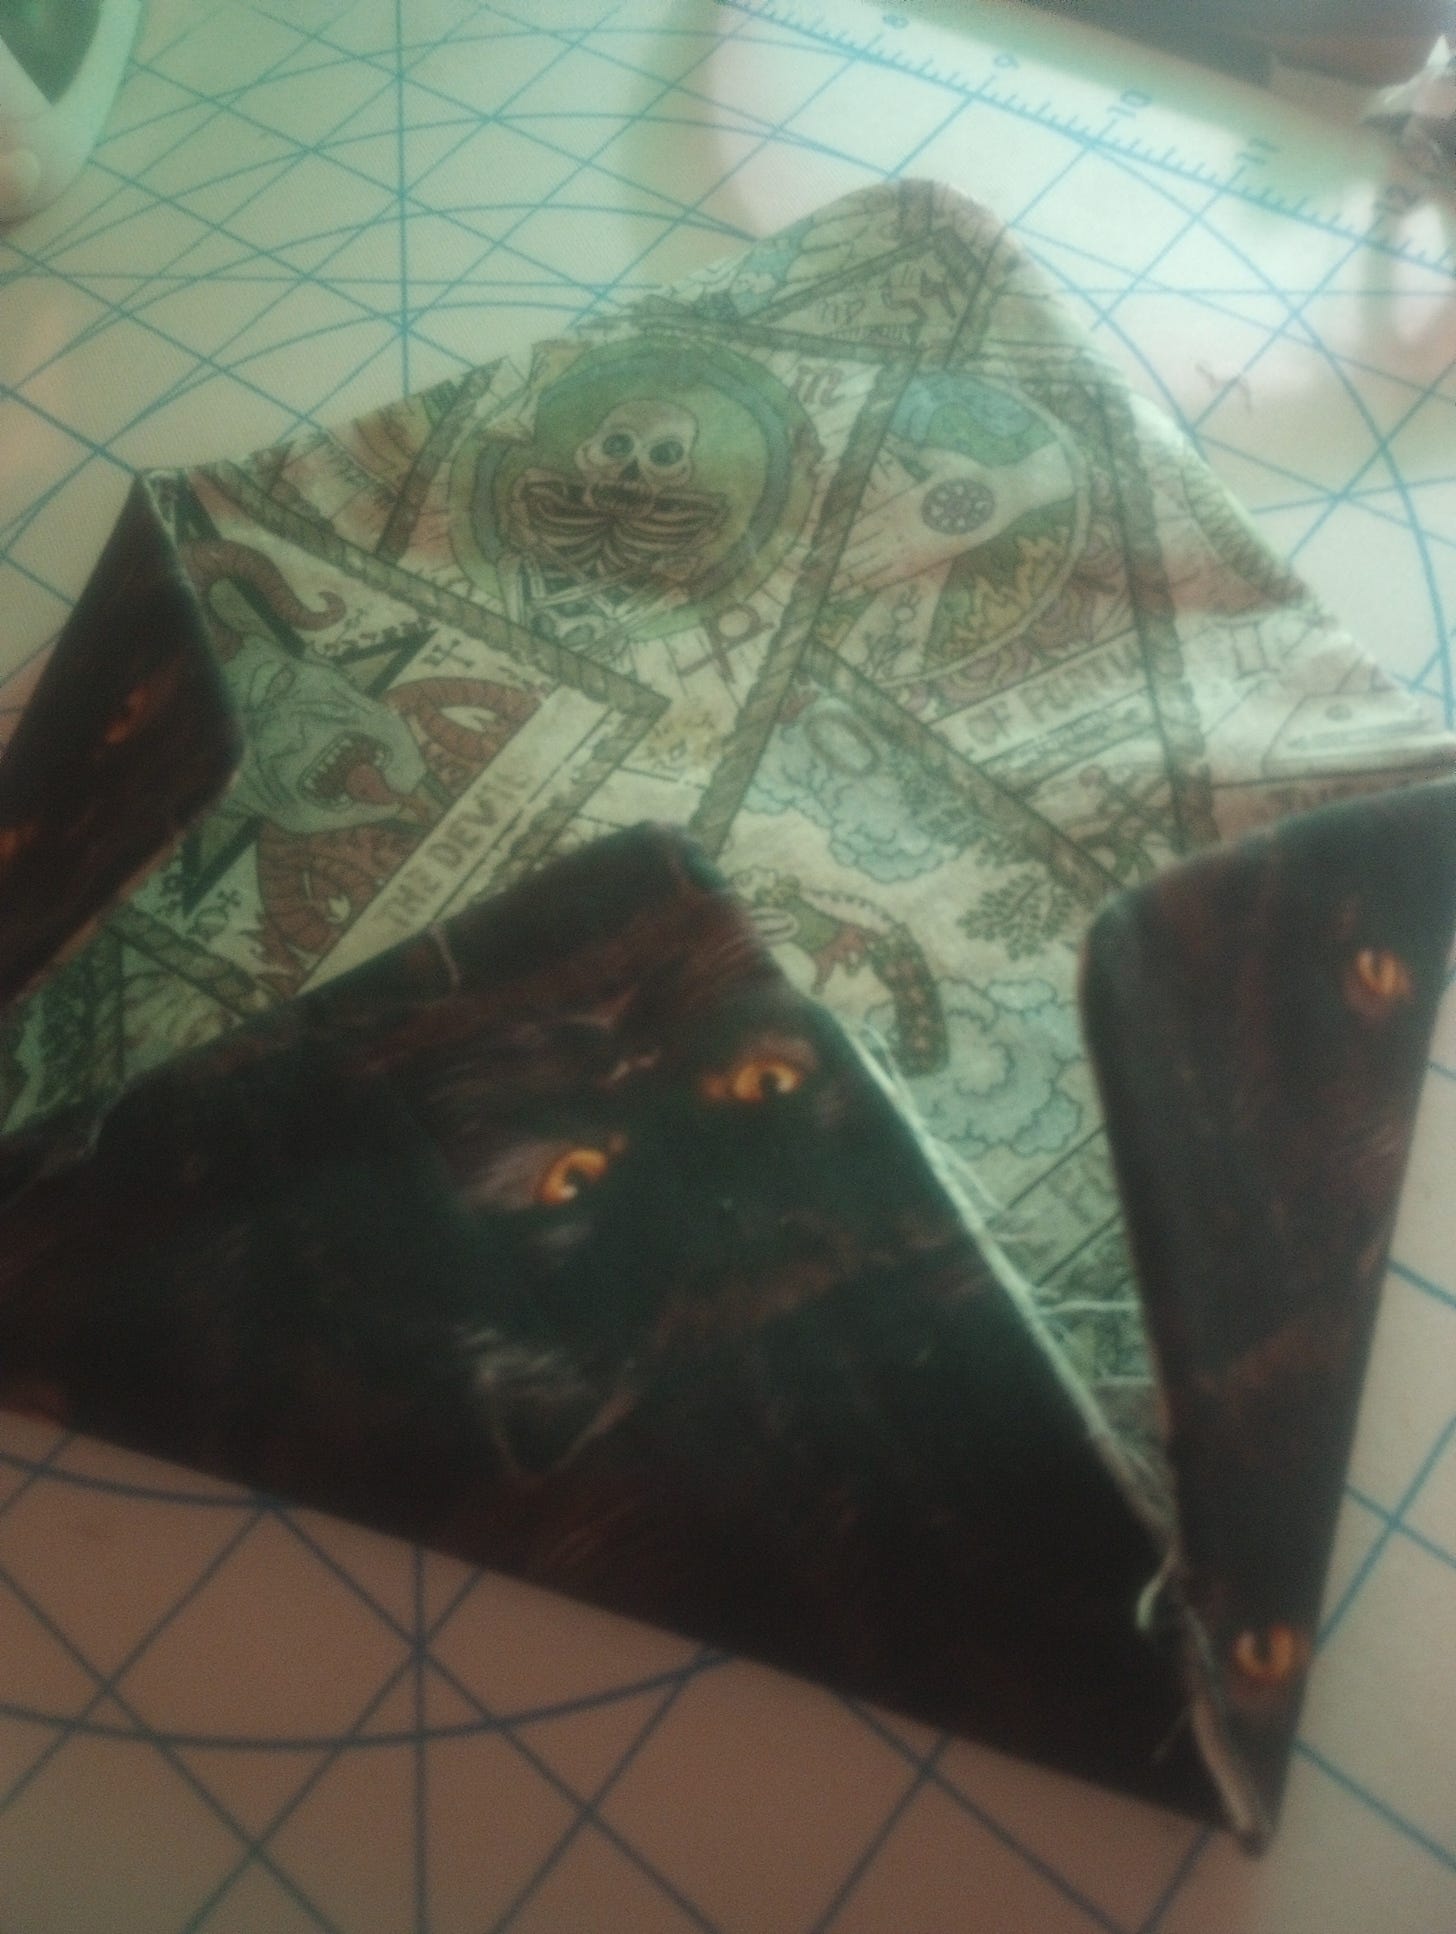
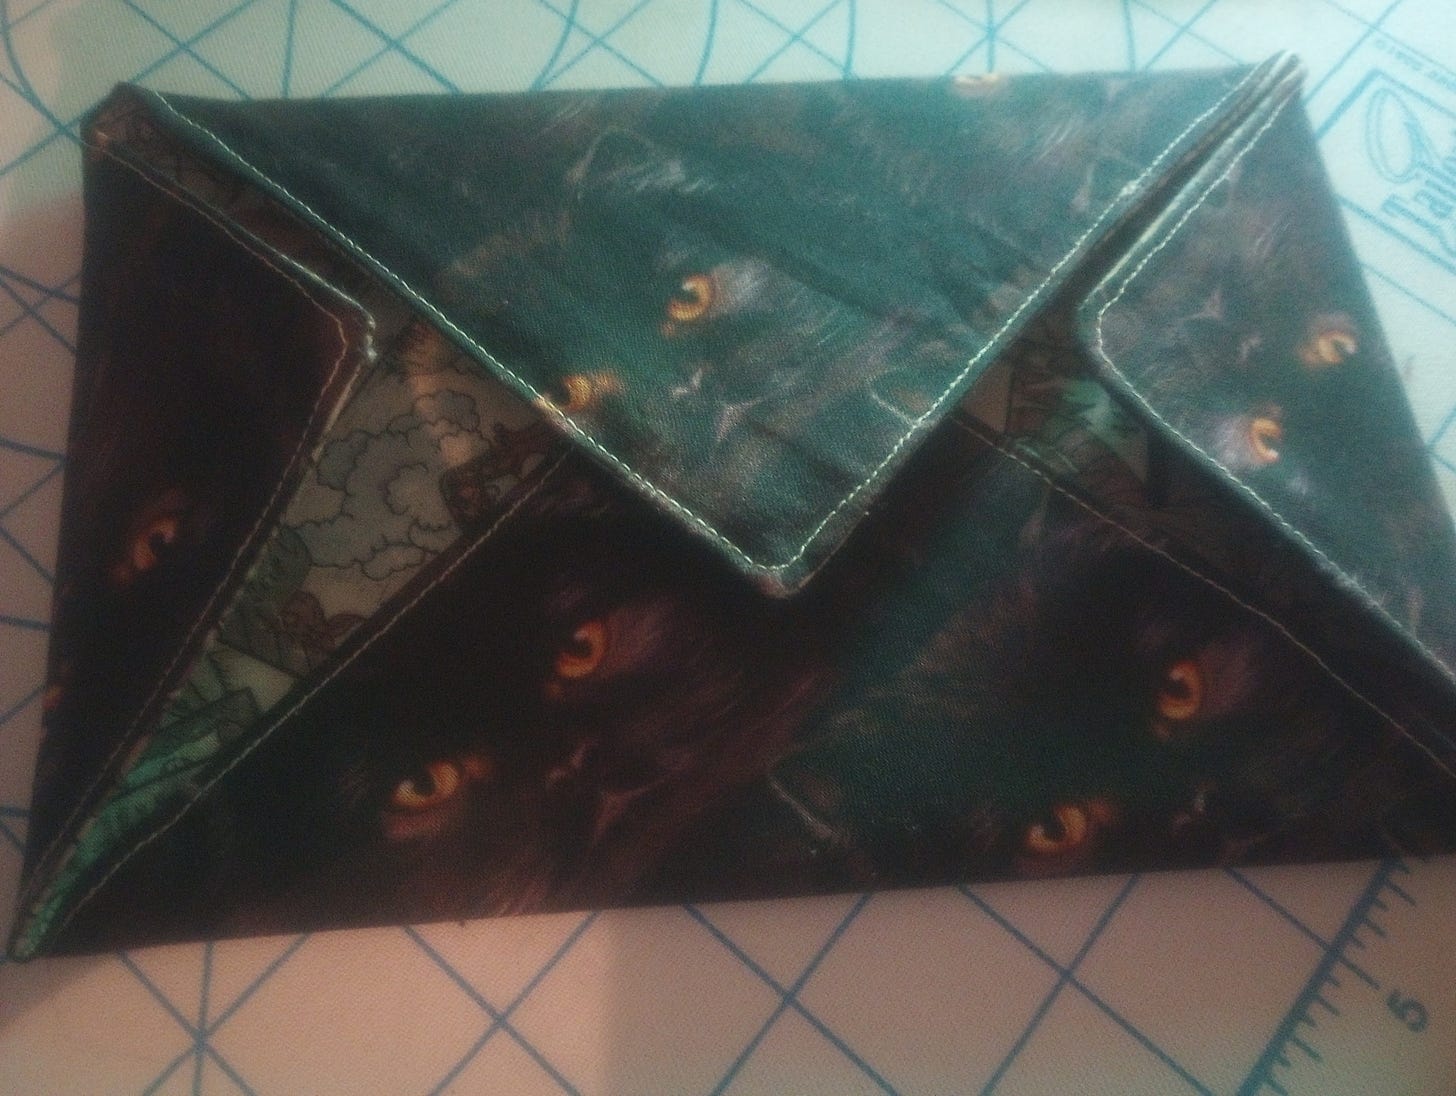
Position the flaps where you want them. This took me 45 minutes, so hopefully you have less trouble, but if not, you aren’t alone.
If you are having issues with it not lining up right, you can adjust the corners on the side of the opening to make it more square like I did.
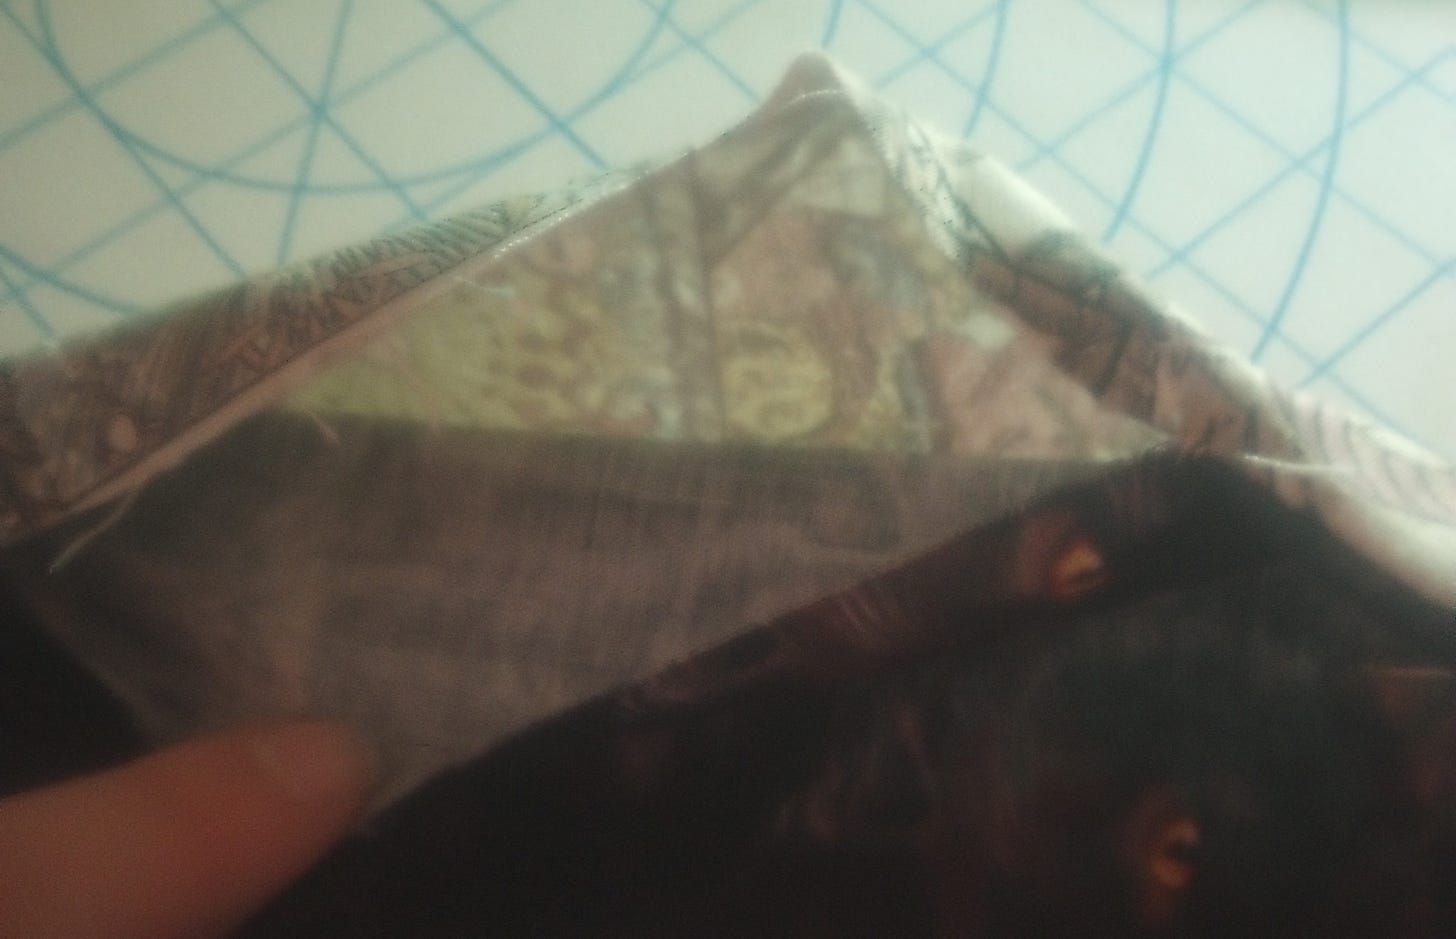
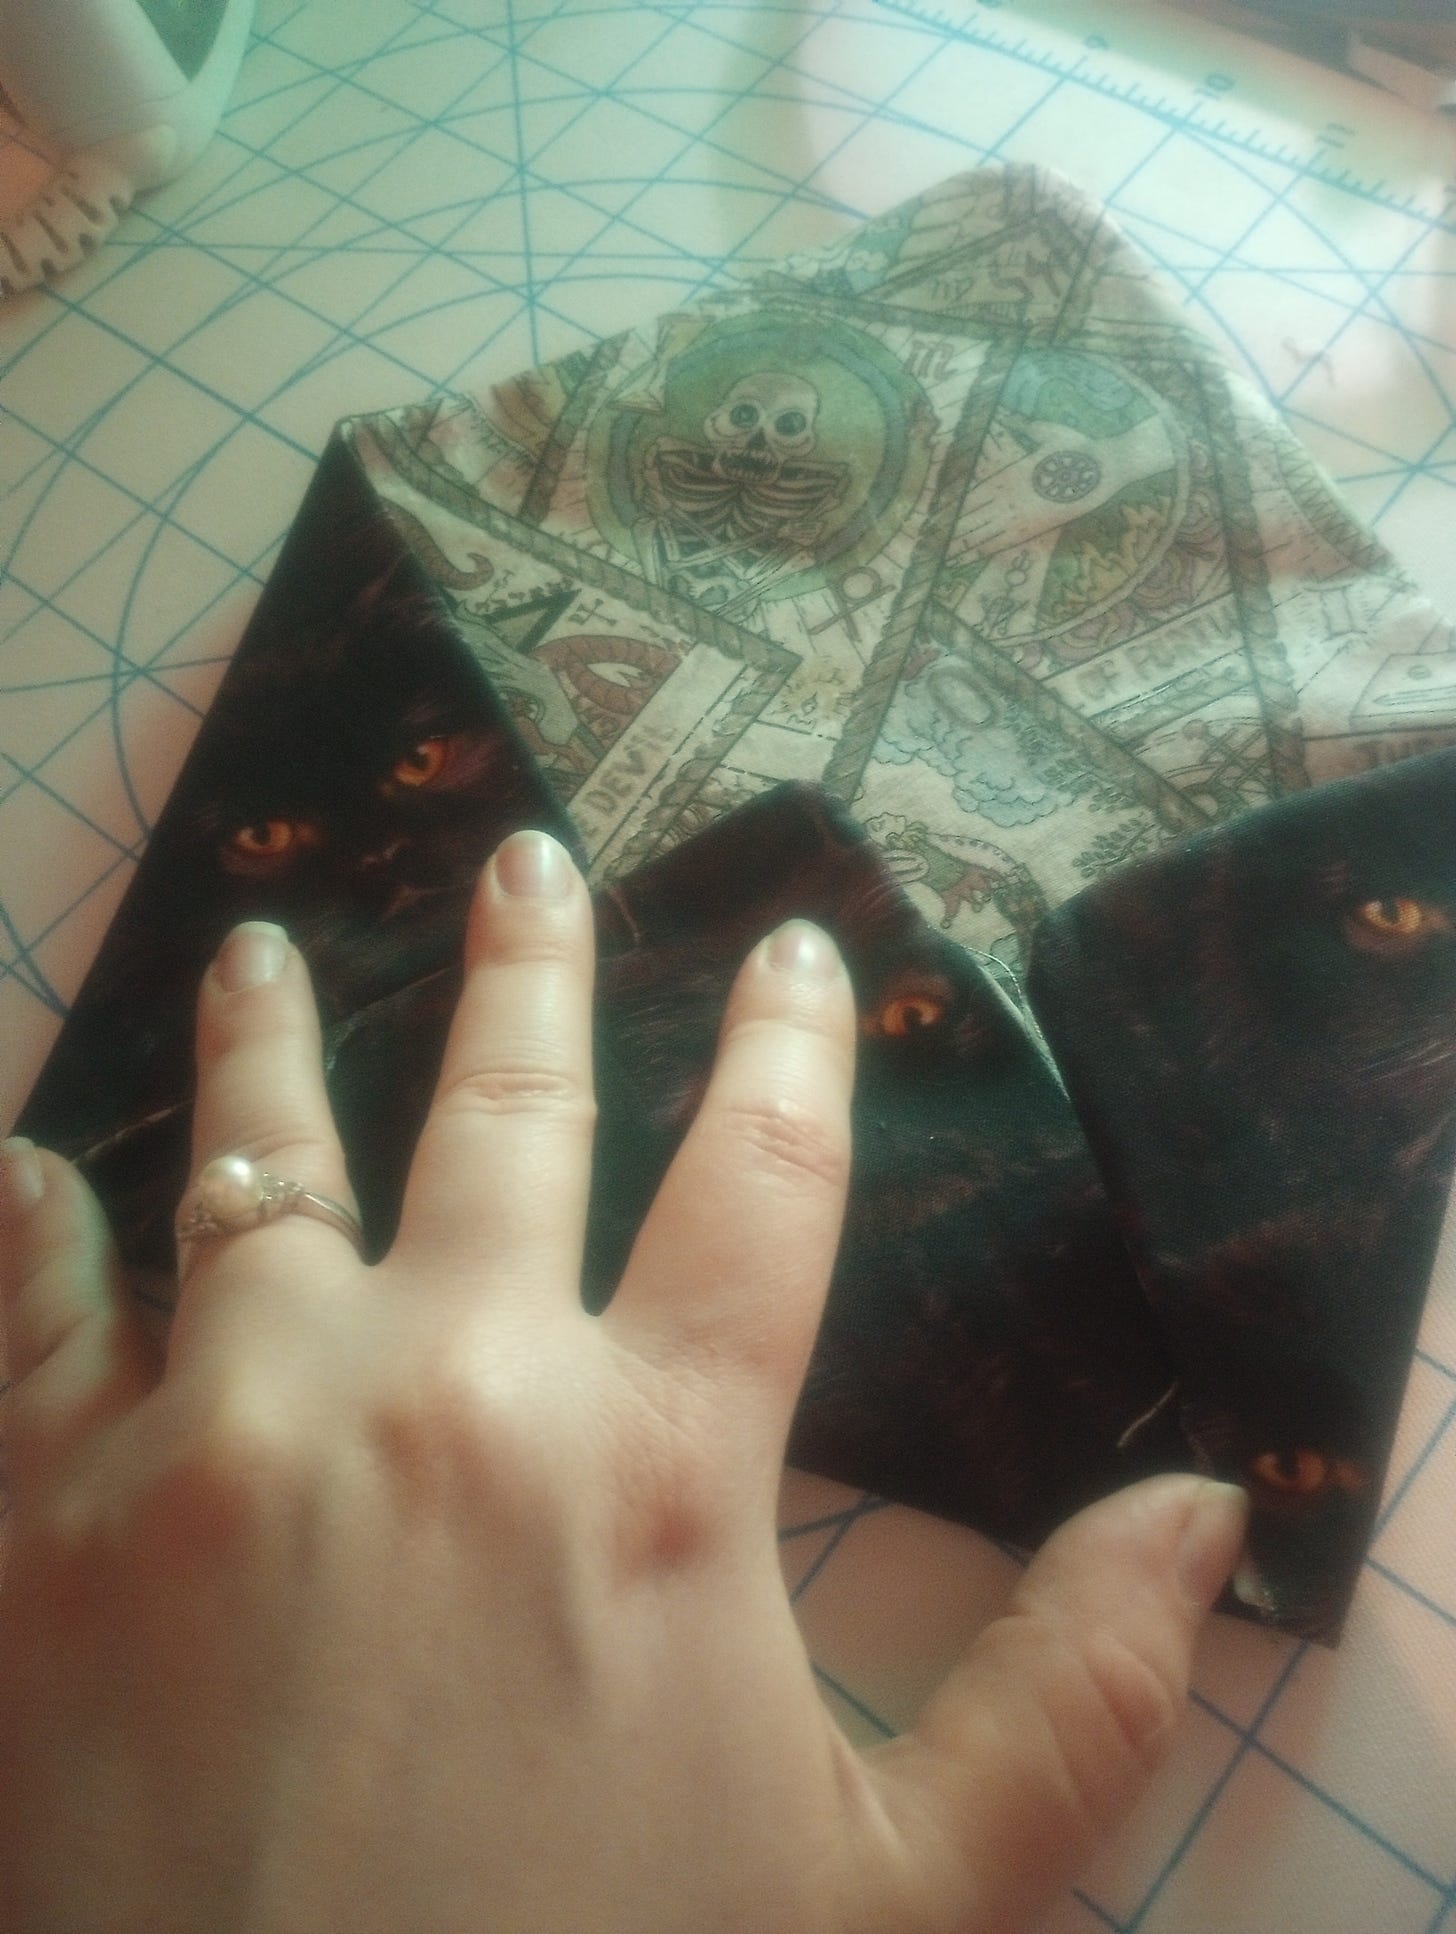
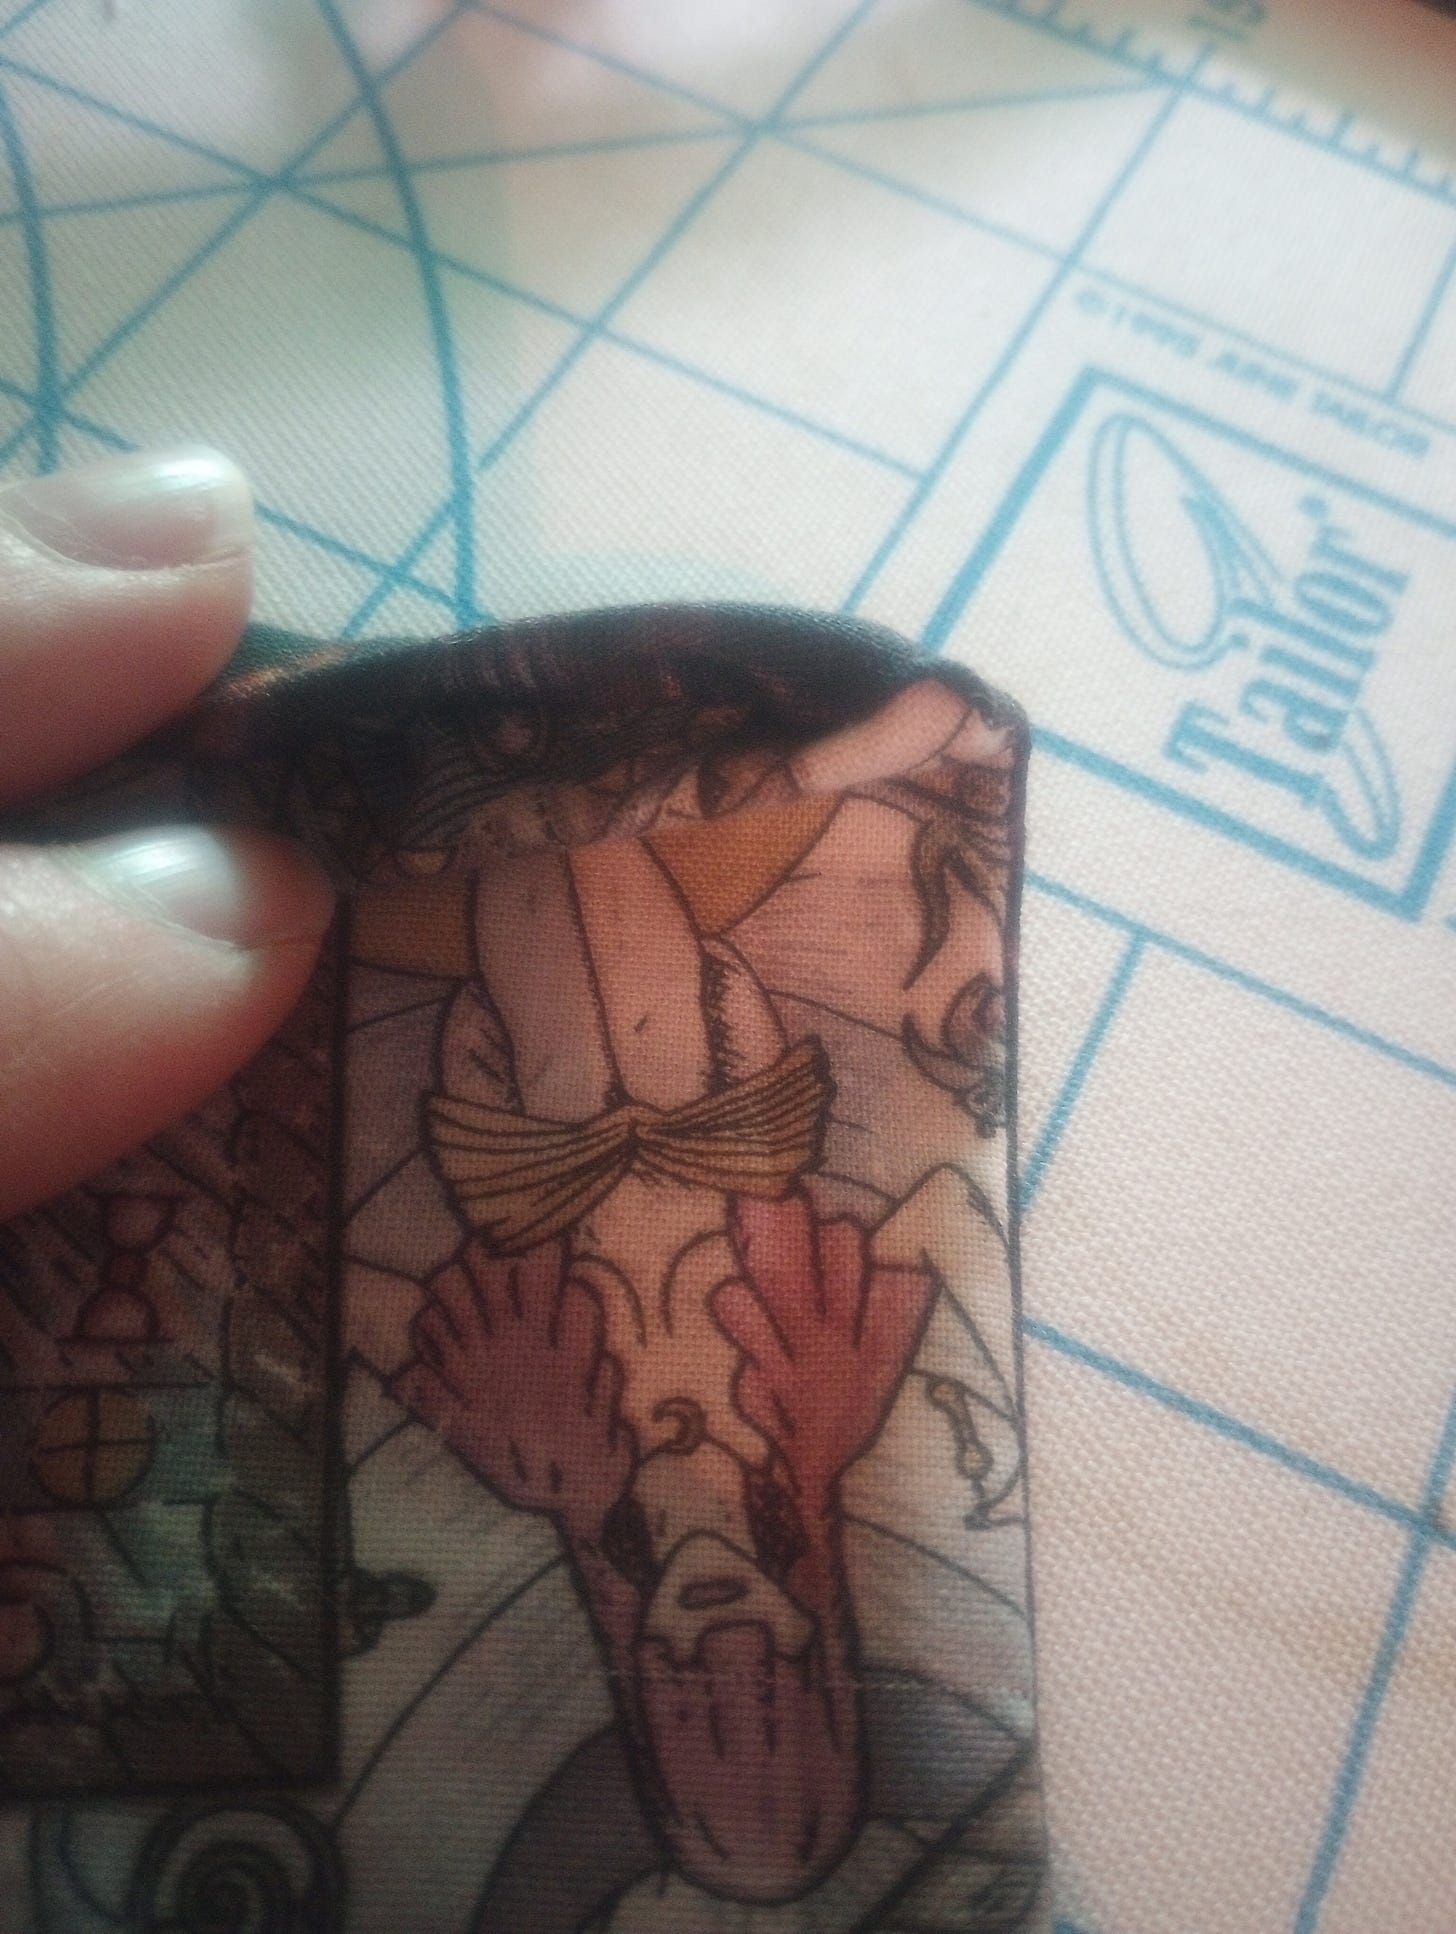
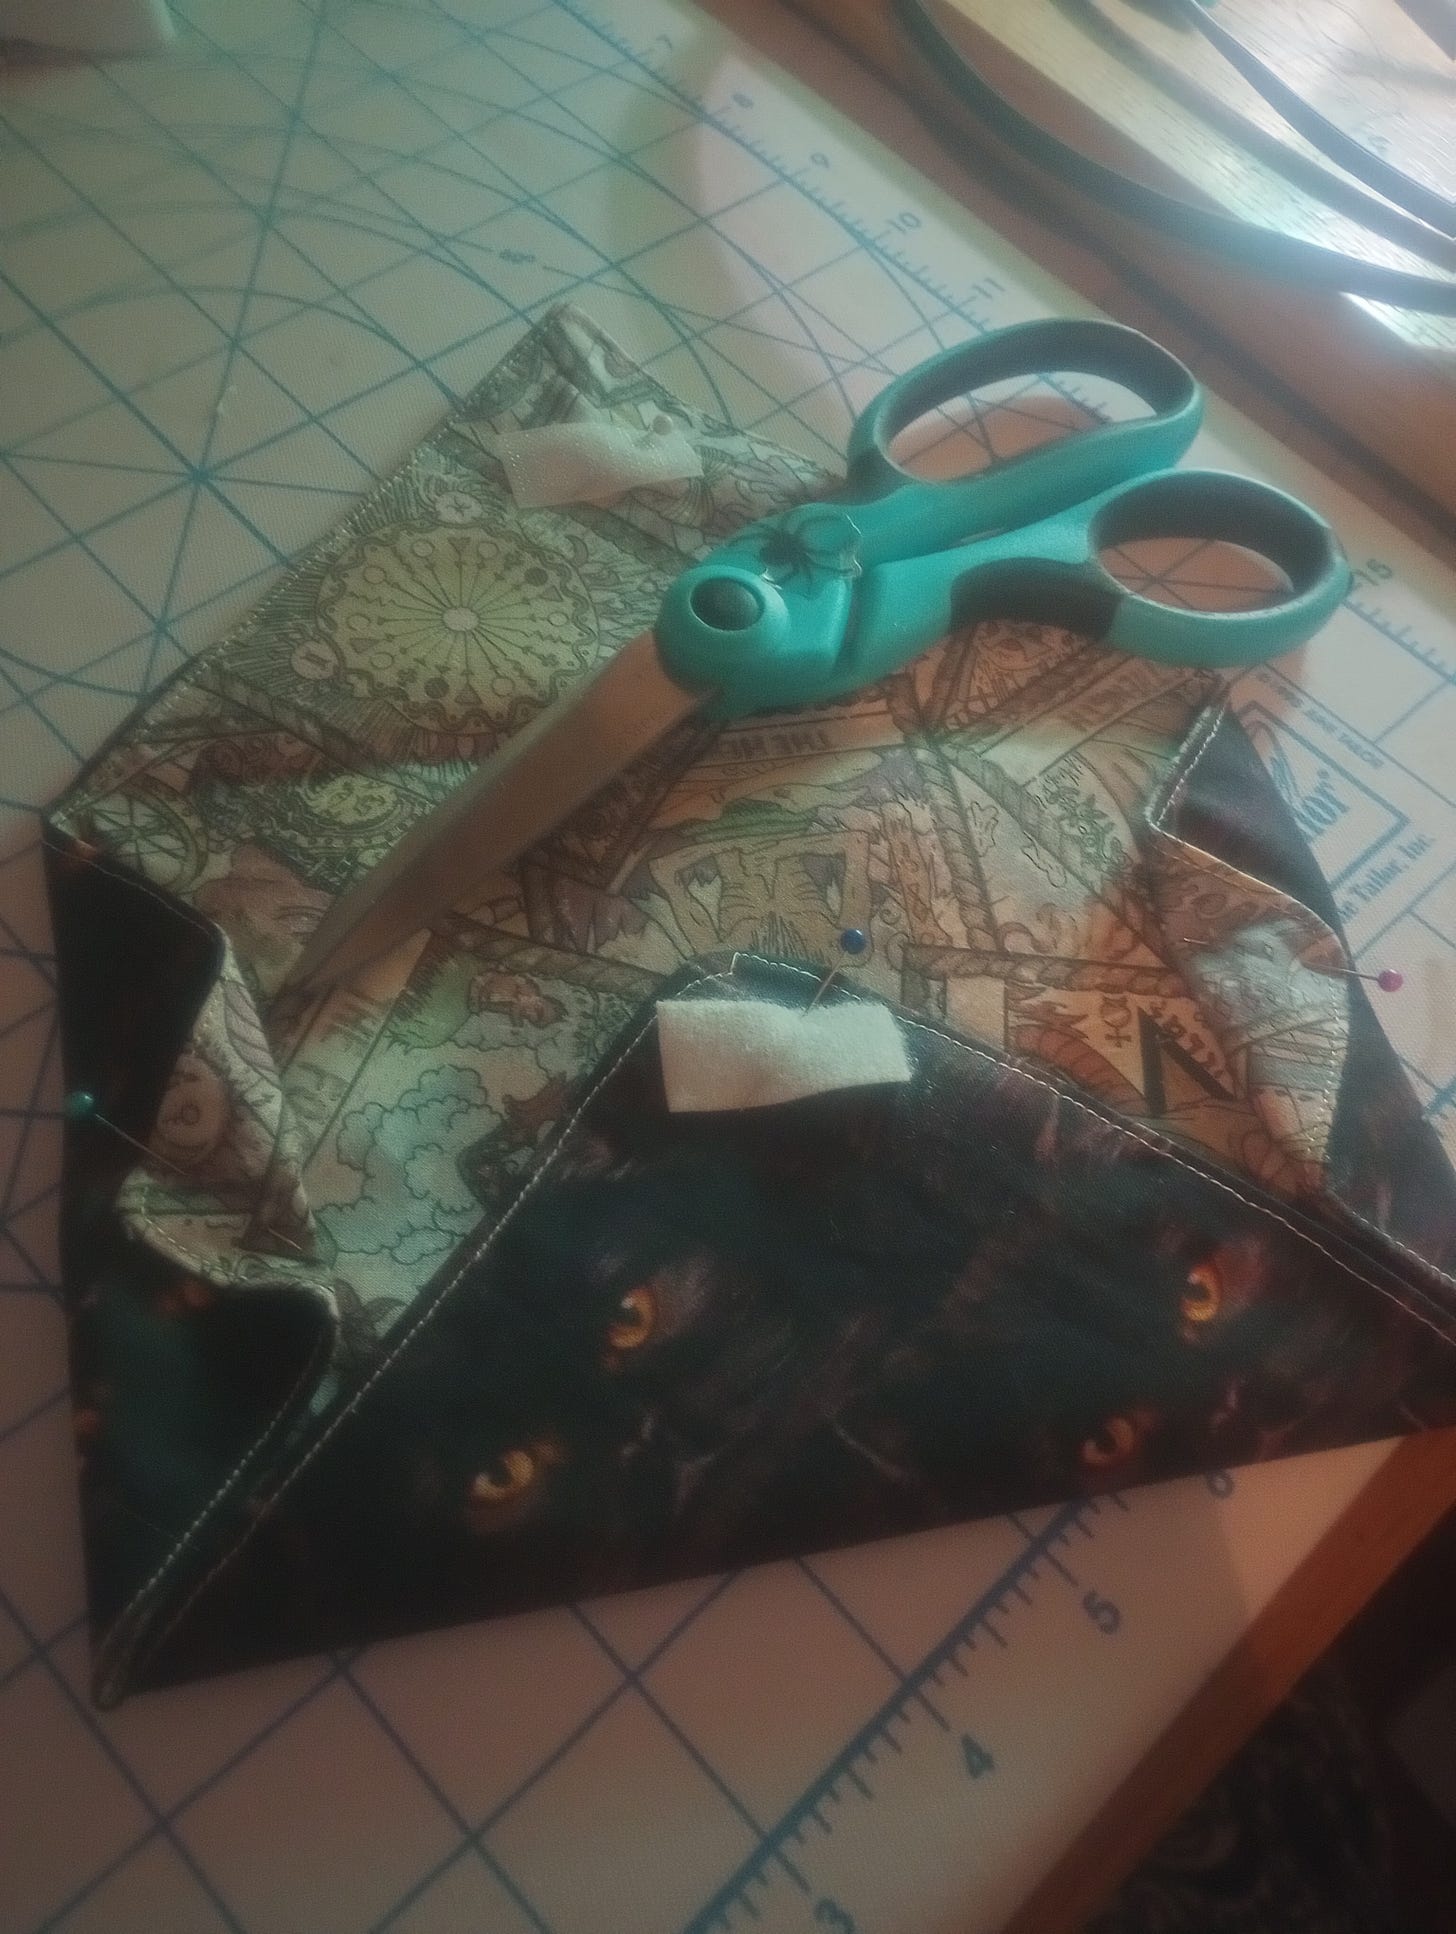
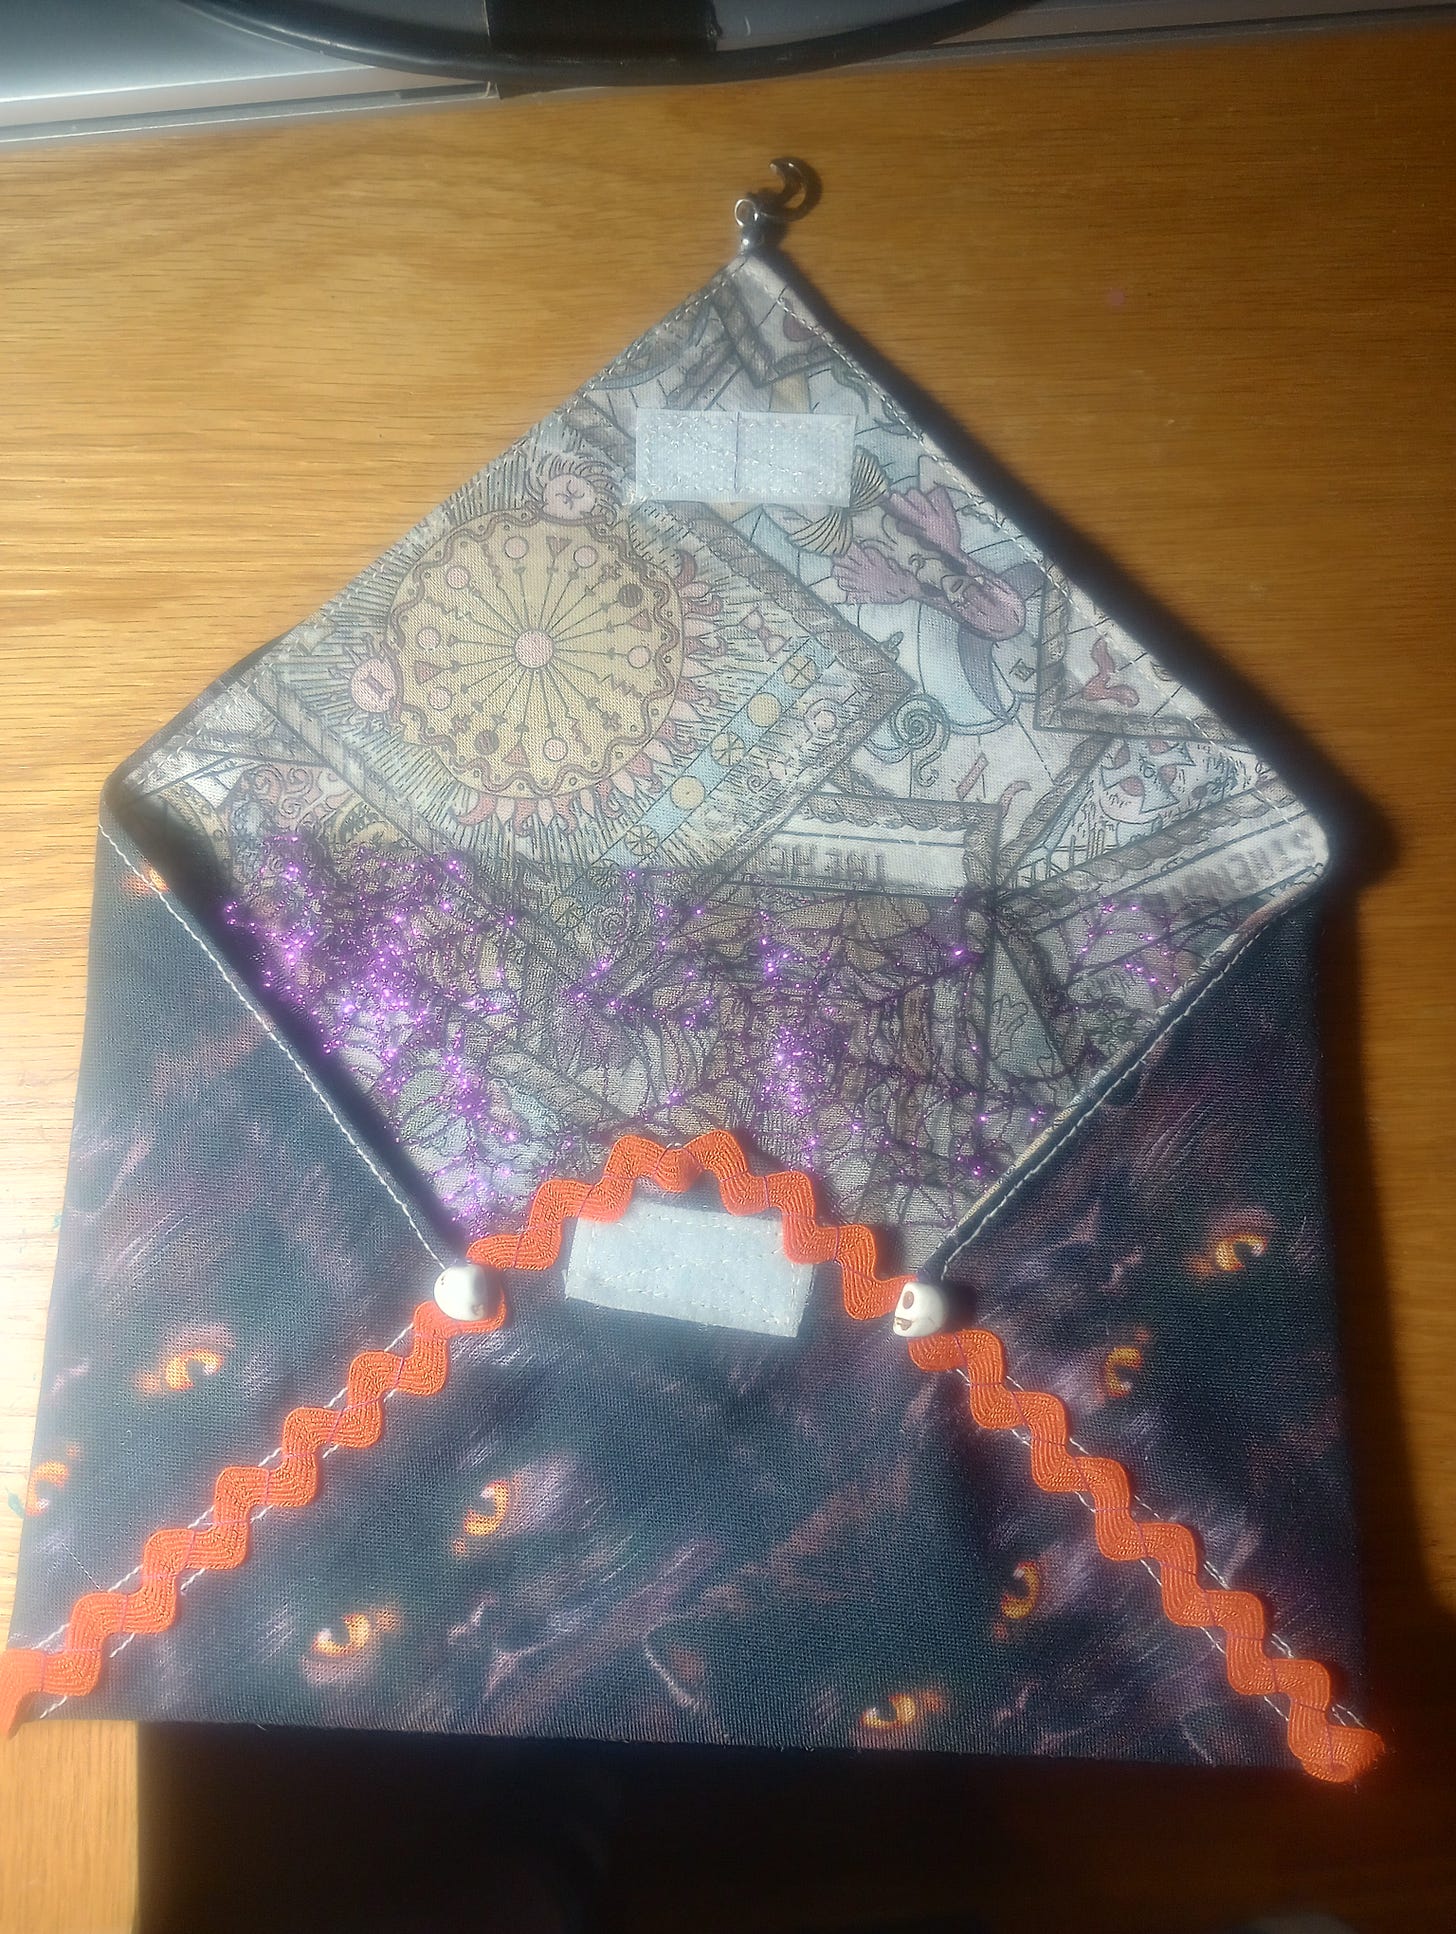
Now it’s time to put on the Velcro. I decided to pin down the side flaps by pulling back the tips, like this:
This turned out to be entirely unnecessary since I’d already ironed the sides to make creases. I guess I just wanted to be fancy. At least it extra super duper ensured I didn’t lose my placement. The best way I know to sew on Velcro is to sew around all four edges of the Velcro, then do an X down the middle. I messed it up but I left it alone. The spider I added will serve to make mine look almost like it was on purpose.
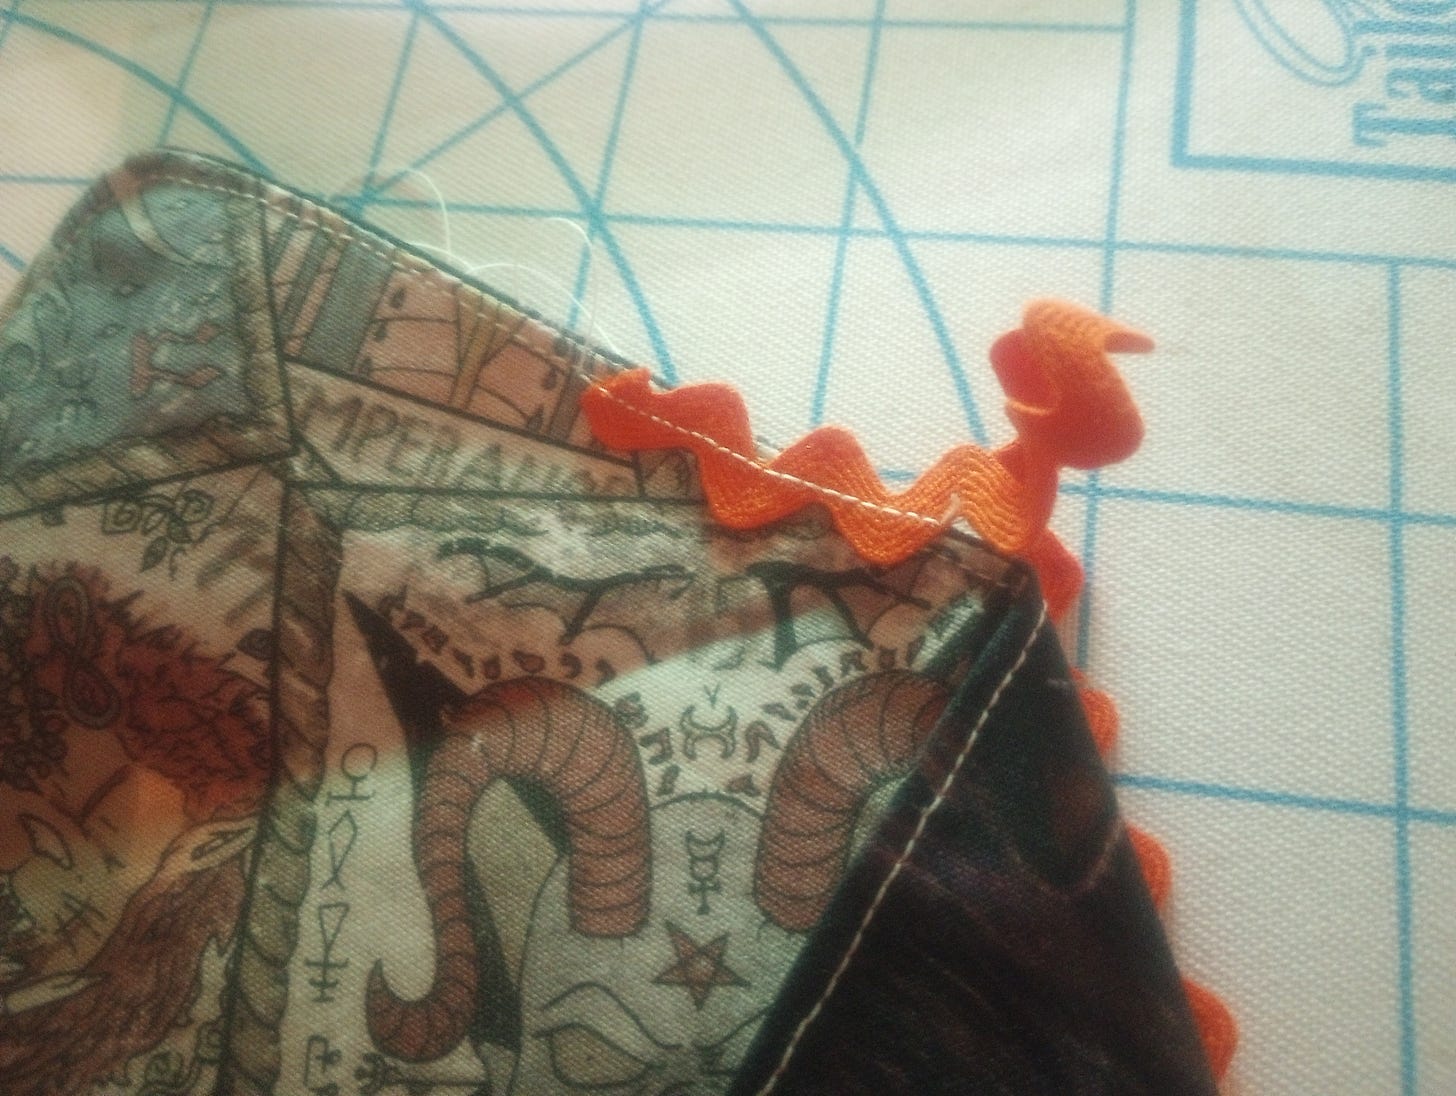
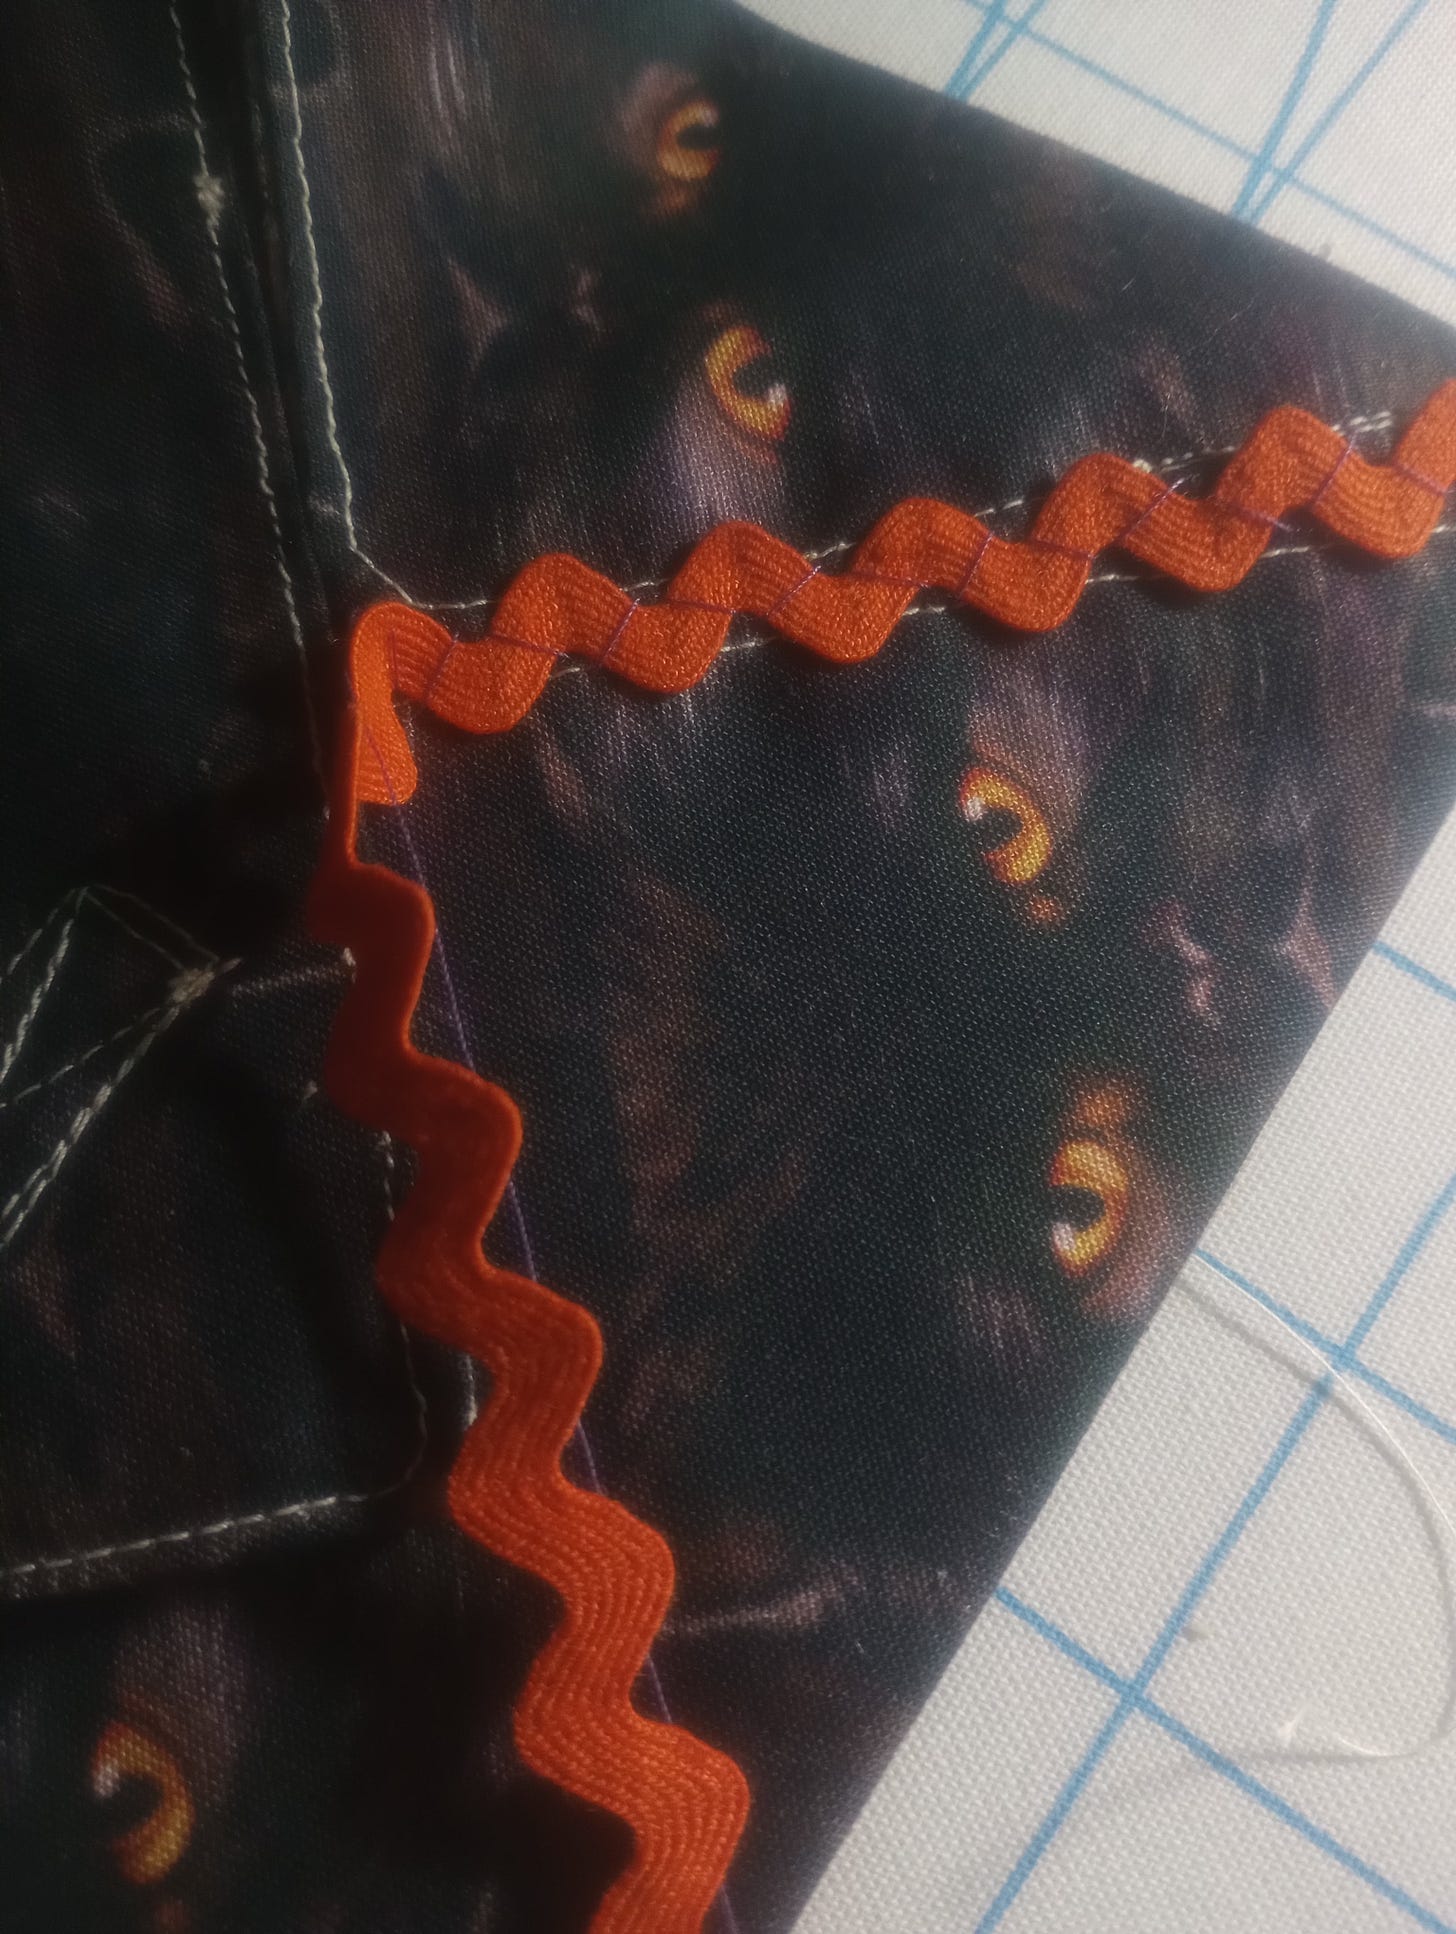
Now you hand sew the two side flaps to the bottom flap. I wanted to add a little more flare here, so I used vintage rickrack. This brought all the nostalgic feels, so I know it was the right move for me. I gave my rickrack a about an inch of machine stitching down the inside where the two folds of the flaps meet. This served to better hold it in place so that I didn’t have to adjust it 50 times before I realized I am just being picky. This turned out to cut out on a lot of frustration. Because I totally would have spent another 45 minutes on that.
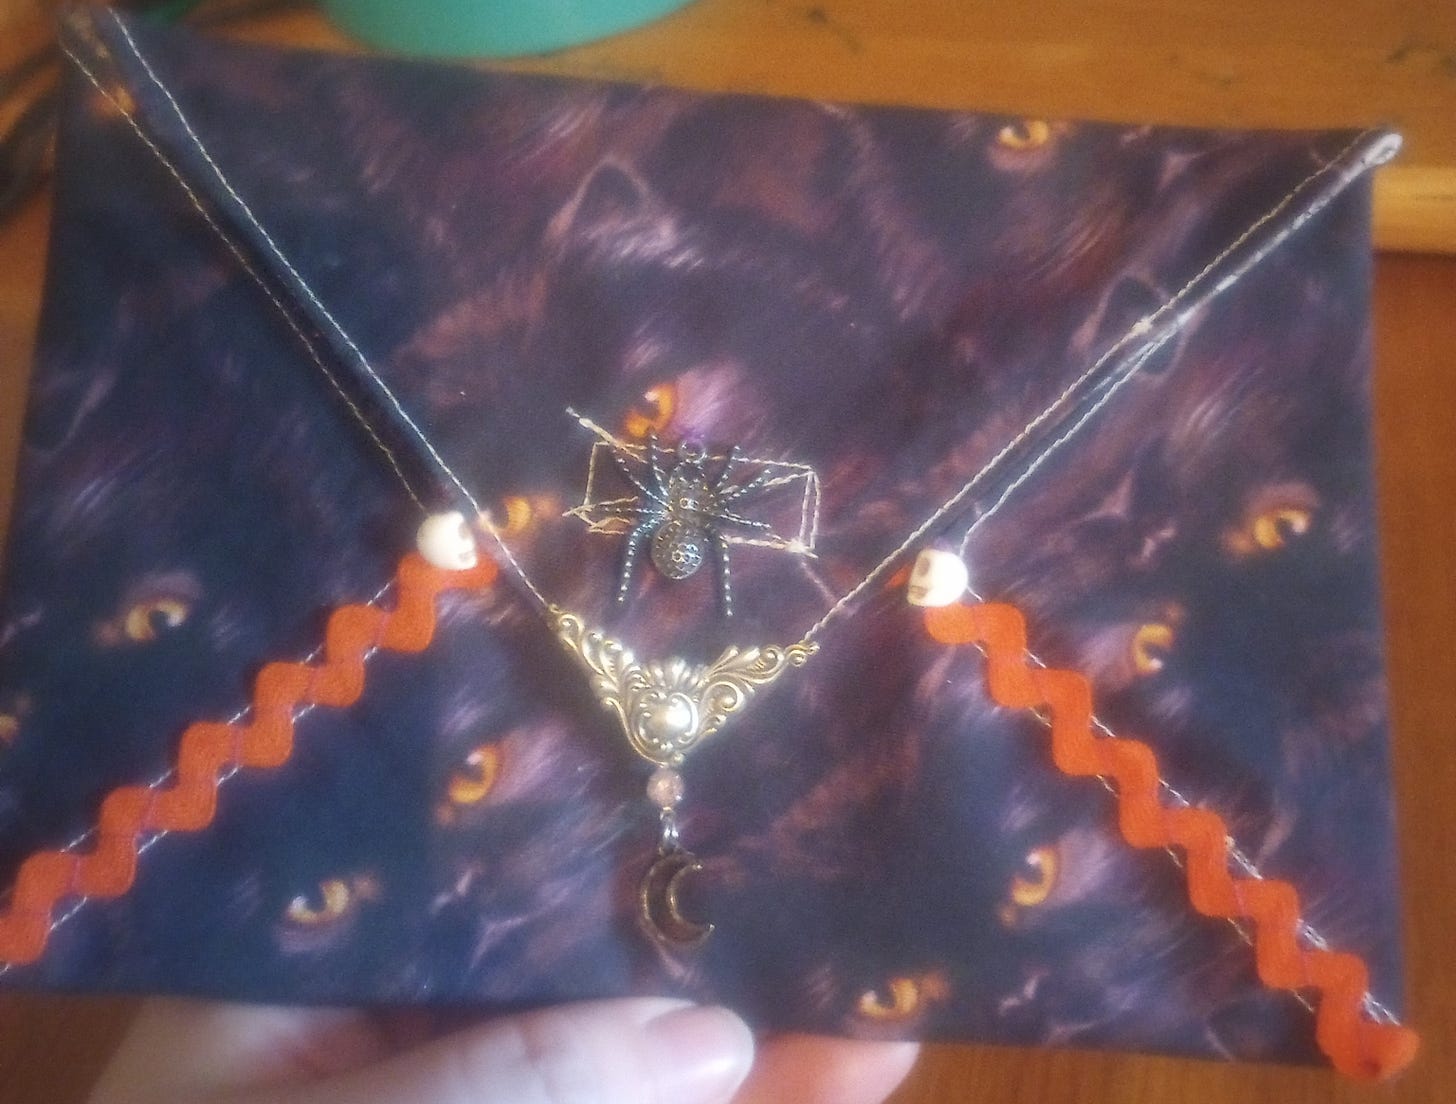
Then hand sew, making sure to catch both flaps. Then sew the rickrack around the top flap above the Velcro. I was lost in this, because I adore hand stitching. Since I couldn’t machine secure the bottom of the other side like the first side, I just made sure to secure it really well with a few extra knots. Now it’s time to add in the fun details. You likely wont have anything I have, so play with it. I’d love to see what you come up with in the comments! I sewed a charm on the top flap. This was an old earring that was floating around in my button tin. I have no idea where it came from. I did mention that magic happens in the button tin. I never know what’s in there, and I always have what I need. It is really quite a beautiful type of simple magic.
I had two skull beads I’ve been hoarding for 10 years that I thought would be perfect at the flap corners. I made sure to secure the corners even more when sewing the beads onto it. I doubt she’ll rip apart like the hulk, but you never know what’ll happen. I once lost an entire pocket from my handmade apron because I ran into a drawer knob. I always take extra care now. Nothin’ worse than an accident with a handmade gift. I loved how the skulls ended up facing each other.
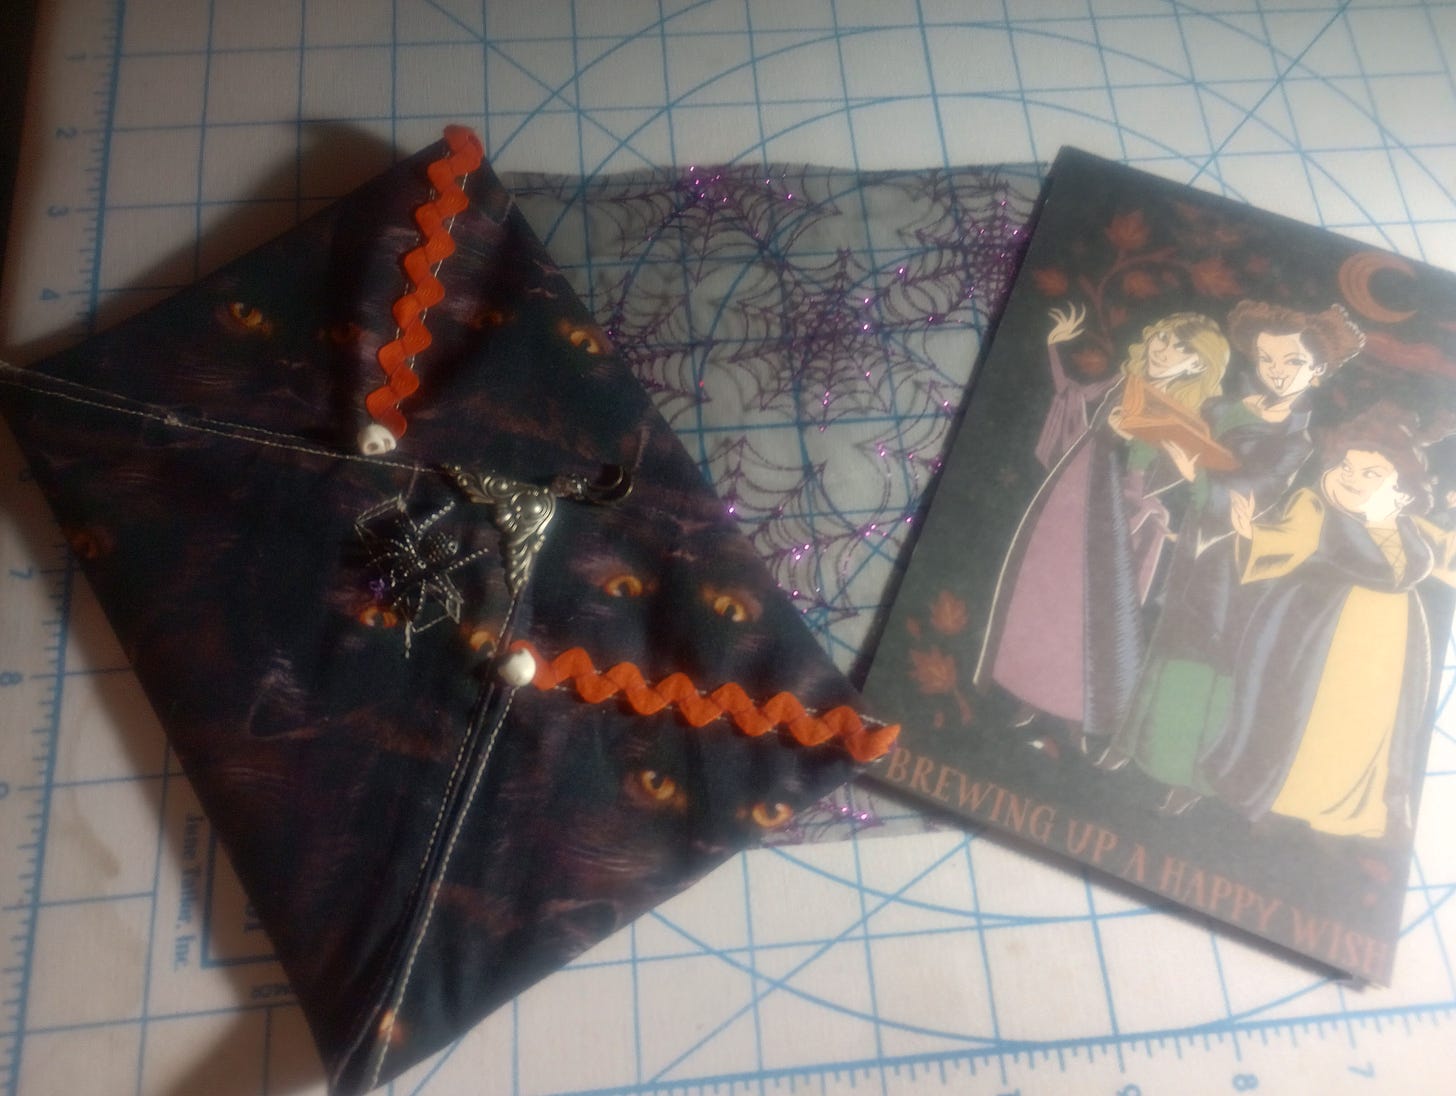
I had intended to put this spider charm on the whole time, so that’s why I left the messed up Velcro stitching, because just like I imagined, it kind of looks like a web. Yeah see, I totally did it on purpose. It’s imperfect, but awesome. However, since I’m a mom, of course the spider wasn’t where I put it. I have some metal paper embellishments that I never really had any idea what I’d use them for and discovered this epic corner embellishment while I was looking for the spider. It did an amazing job of hiding the knots from stitching in the charm onto the top flap, and a mistake I made that I never told you about. Now no one will ever see that mistake at all. Yay
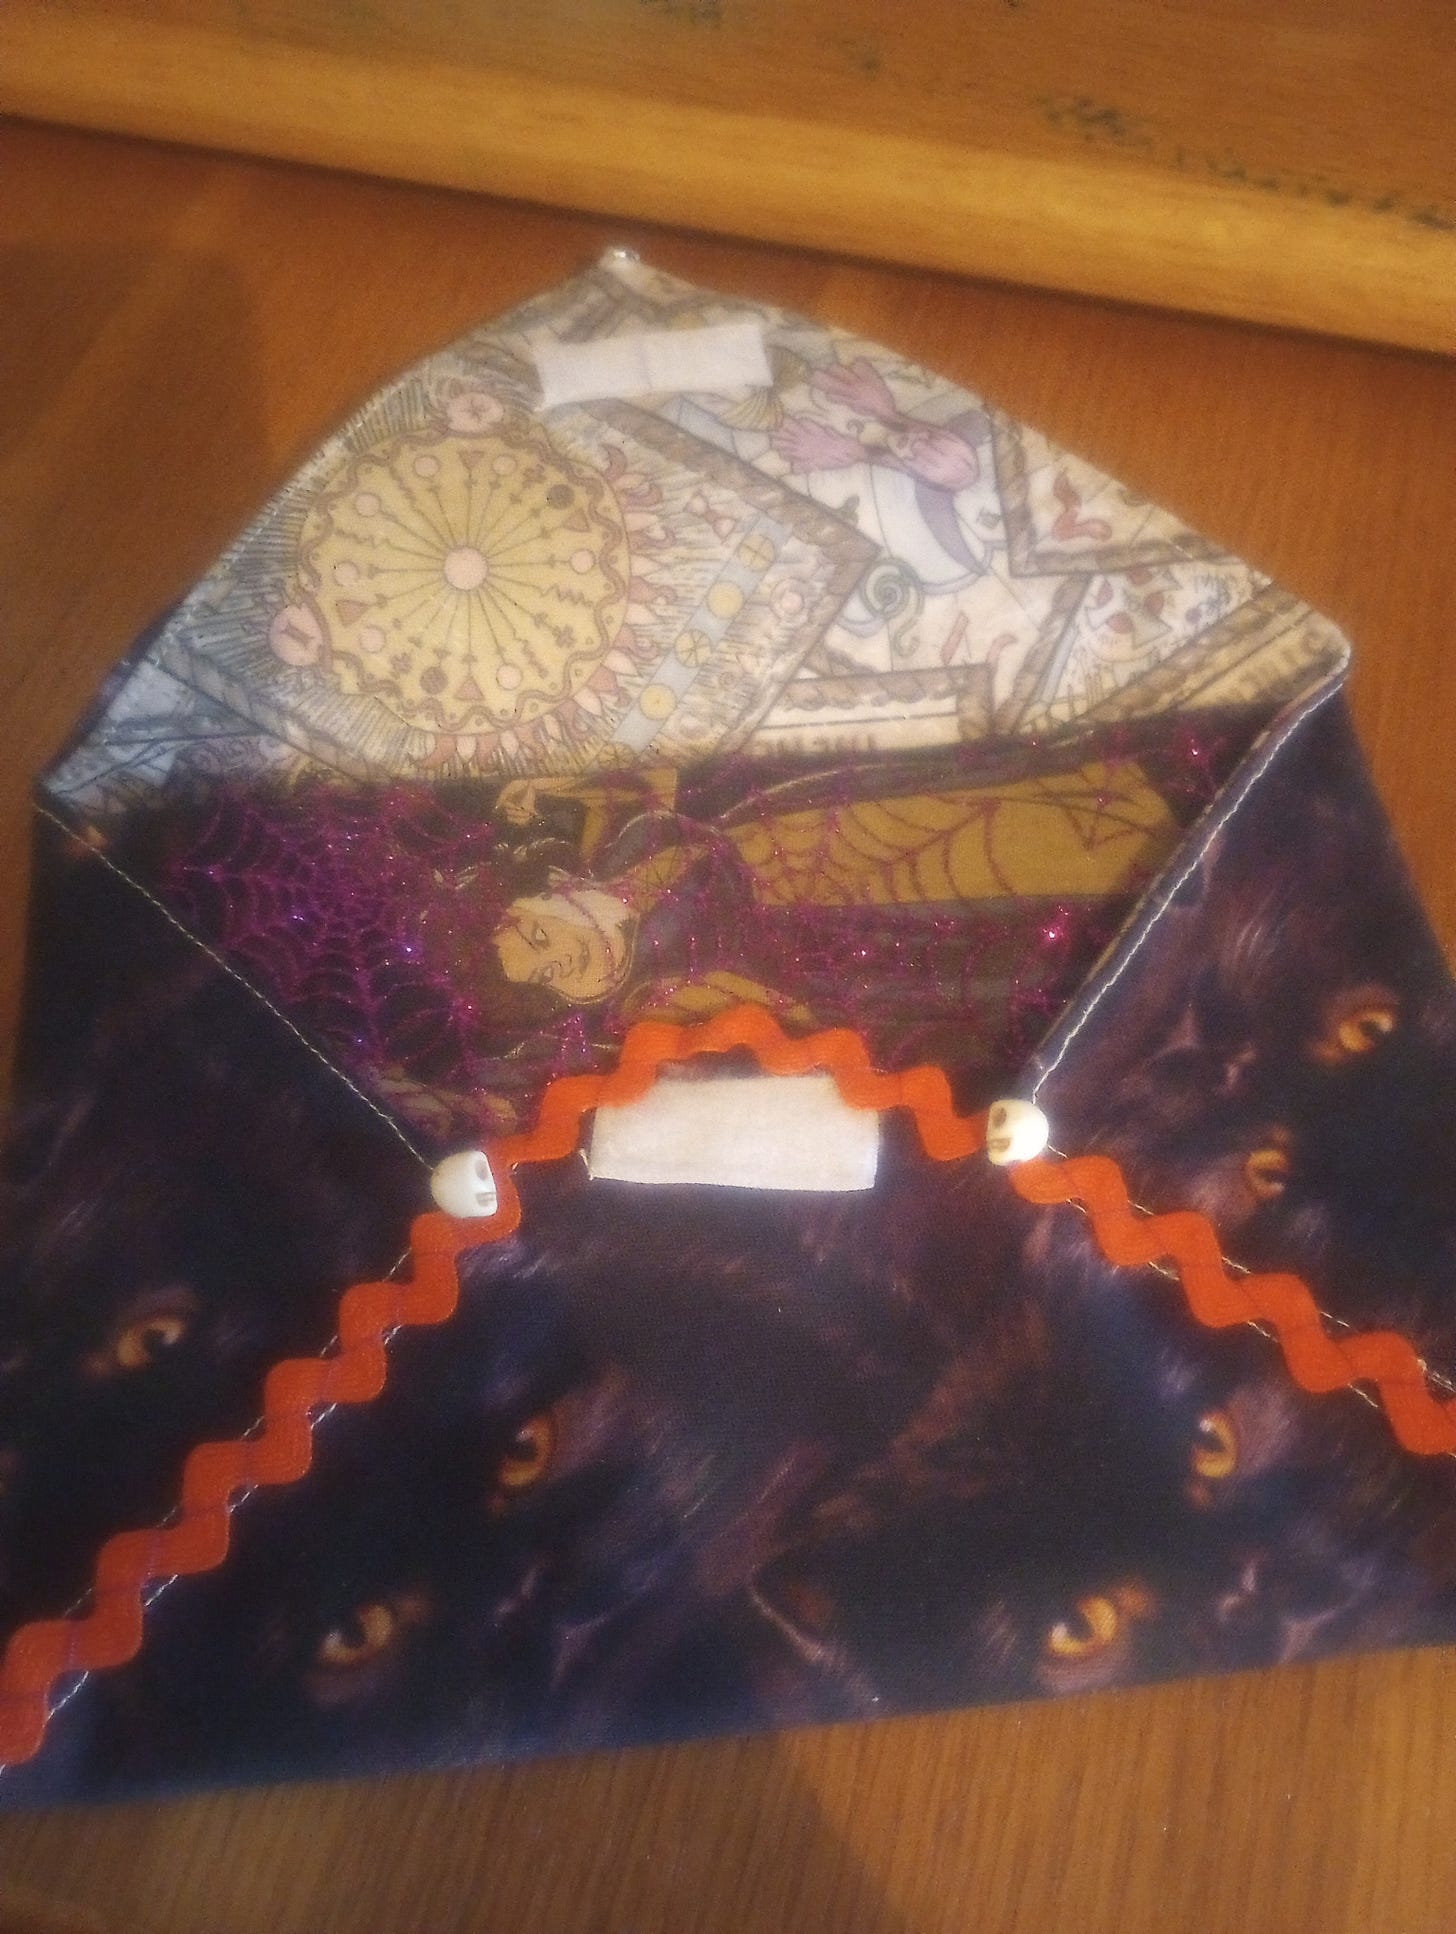
I cut a small rectangle of this spider web gauzy stuff that I love so much, to add a little something extra.
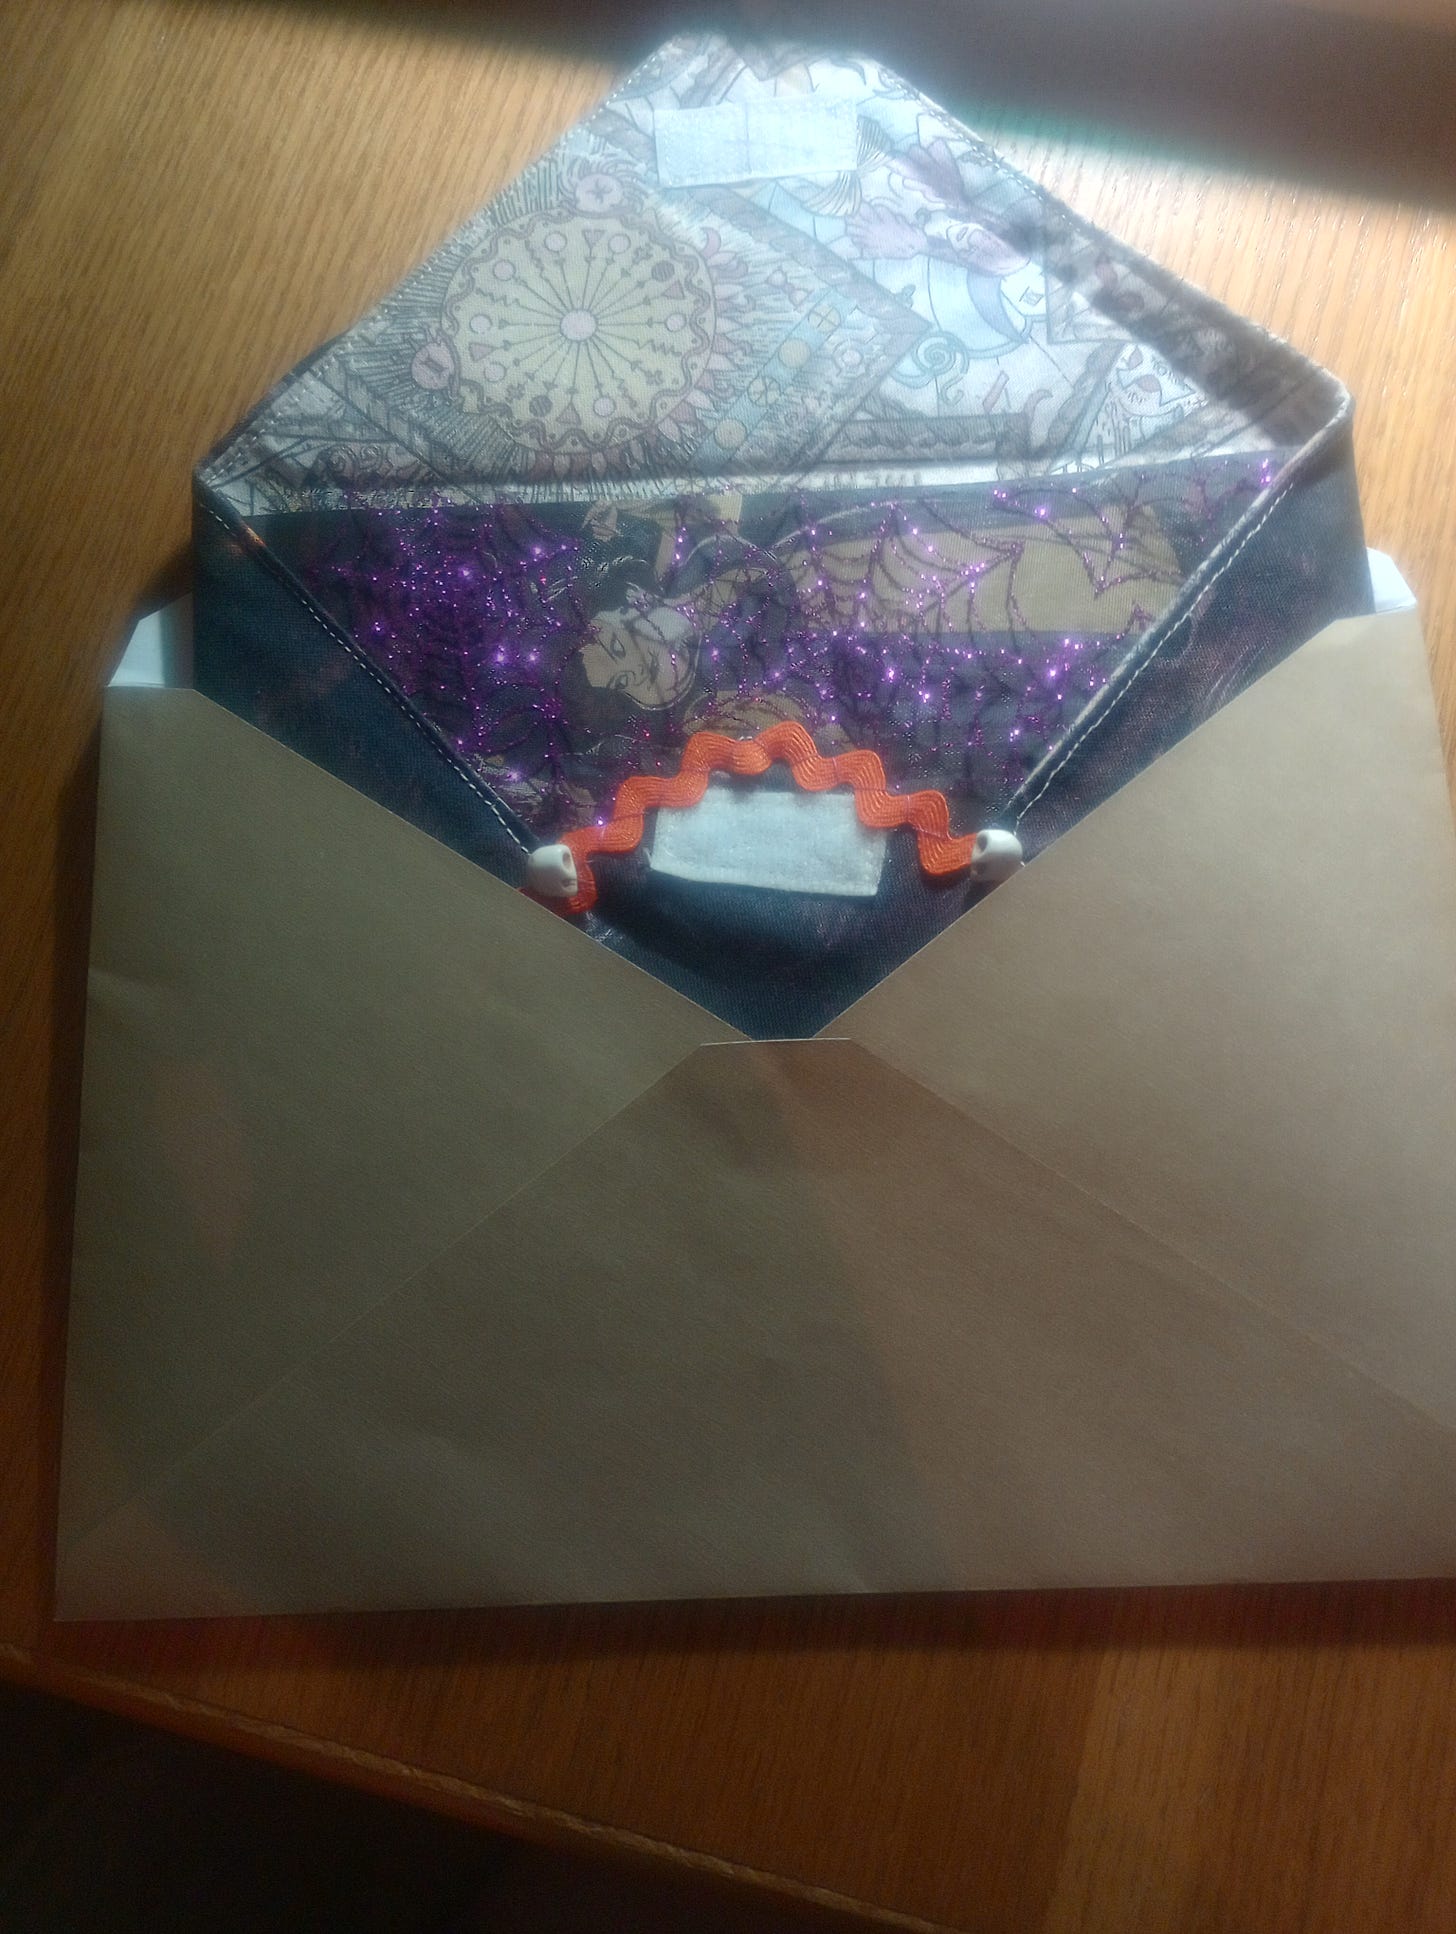
Here’s what it looks like inside the paper envelope cuz why not?
Not too bad for not even planning this out. I just woke up and had it in my head. What do you think? Are you gonna make one yourself? I’d love to see if you do! Please comment below and show me.
I thought I’d take a moment to mention my ko-fi shop where I have a few of my commissions listed. I’m going to start making these envelopes and put those in the shop too in the future. If you’d like to buy something that isn’t in the shop but you’re still interested, send me a message. I also thought about starting to write personalized poetry for people, so if you are interested in that, let me know!
Thank you for being here with me today! I hope you enjoyed this tutorial. If you have any questions, please comment below. And if you’re new here and like this sort of thing, please feel free to subscribe.
Here are some other substacker’s work that I really enjoyed reading.




I love this tutorial and your sense of humor throughout. I smiled many times.
I like your use of the term on purpose and winging it or maybe you said flying by the seat of your pants. Two things I often say.
Thank you for this fun post. I will be back and I am interested in your poetry.
🌹